2. Creating Trips (+Scanning)
Create a trip
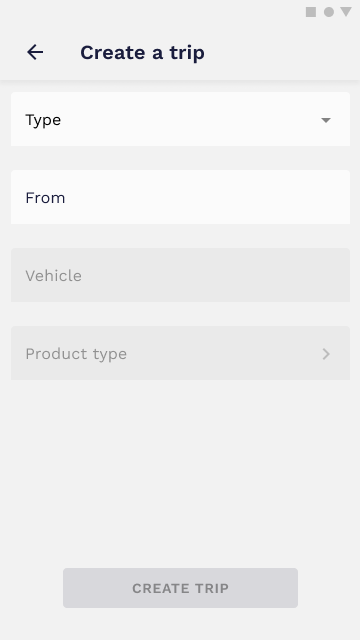
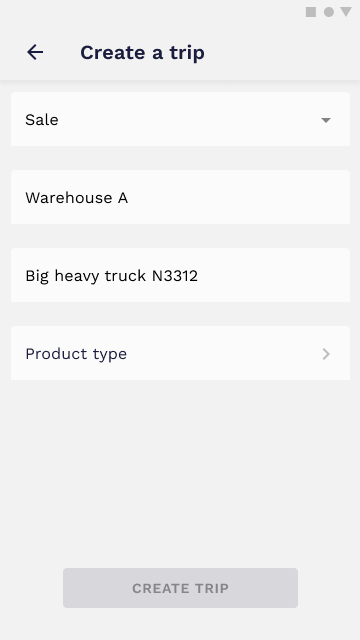
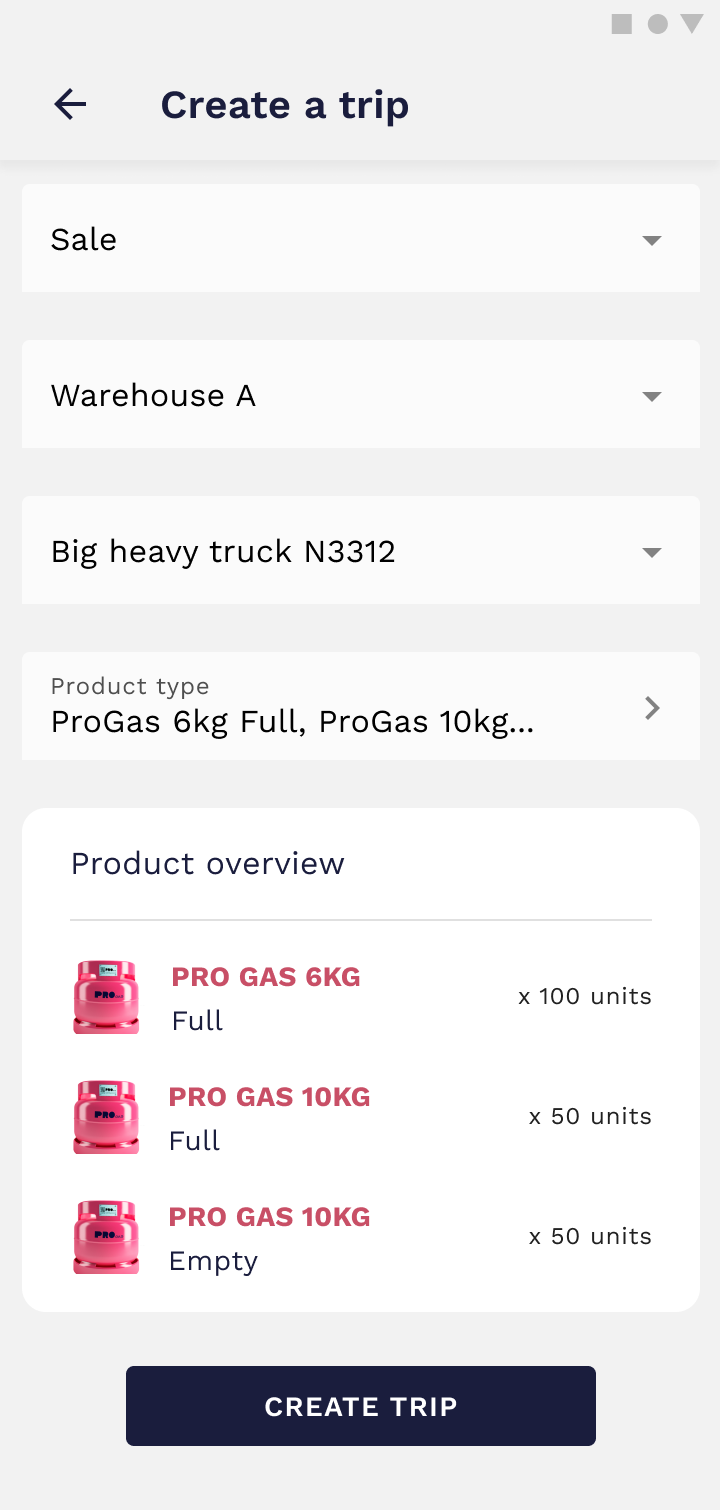
Container Coordinators have the possibility of creating trips and associating them with the available drivers. To create a trip, all you need to do is to fill out a simple form with the relevant information.
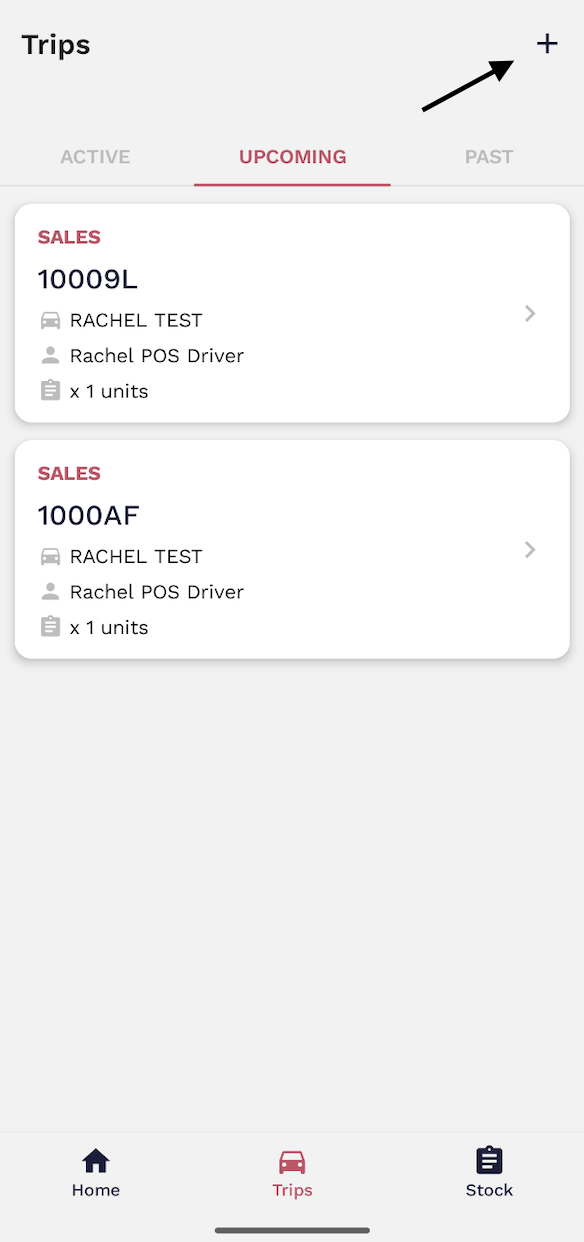
Go to the trips tab and select the plus sign located at the top right.
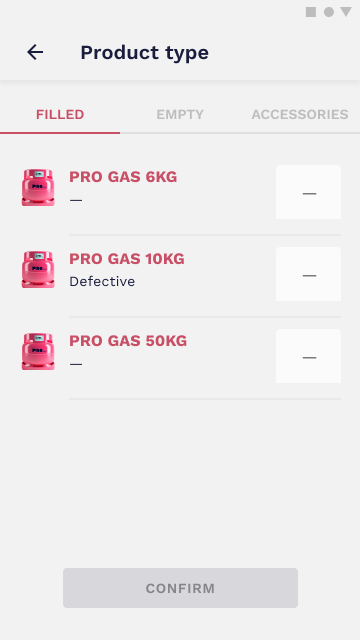
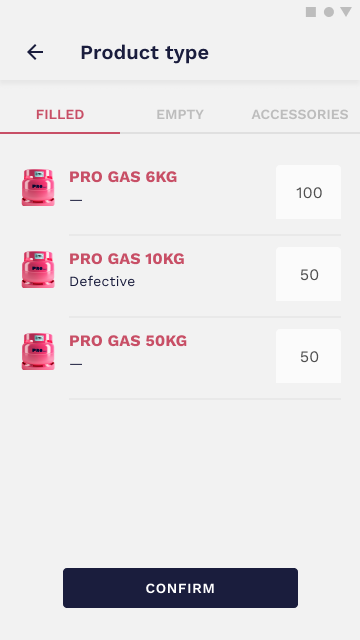
To select the products you want to be loaded on this trip, you will access a product catalog and be able to select the amount of each available product. All inputs should be filled even if the amount is 0.
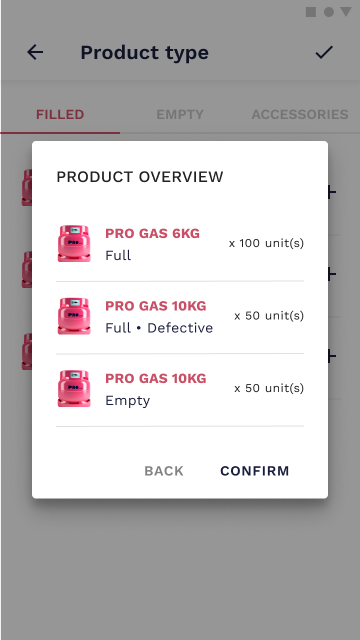
Like any other important action, this one must be confirmed before proceeding. You will be asked to confirm the quantities before moving to the next step.
A trip summary is then displayed to help you visualize all the information before creating the trip. If everything is correct, just click on the Create Trip button and you’re done.
Video tutorial
Reject a trip
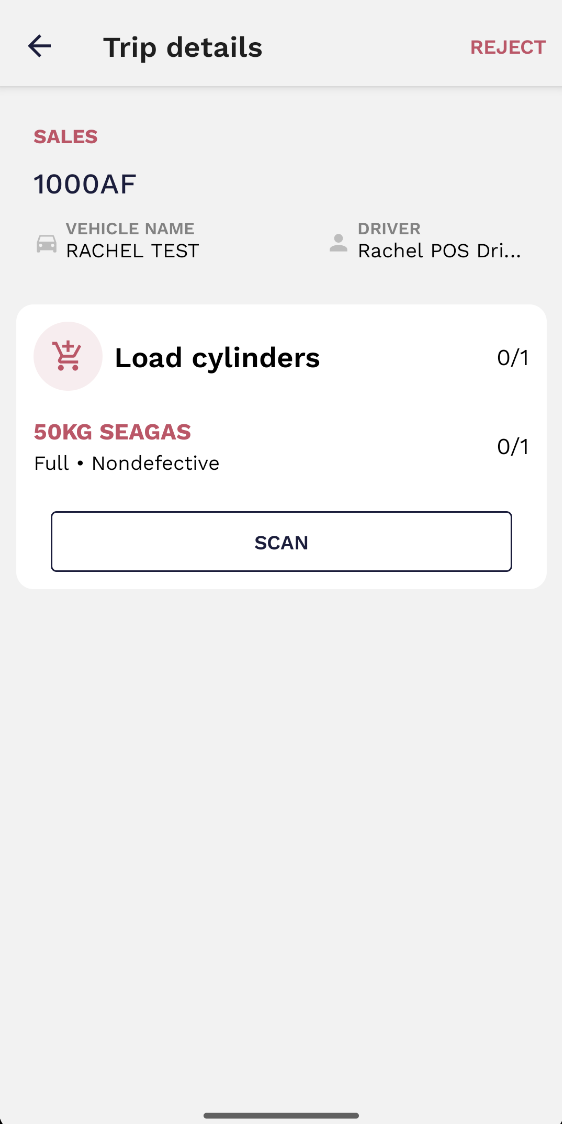
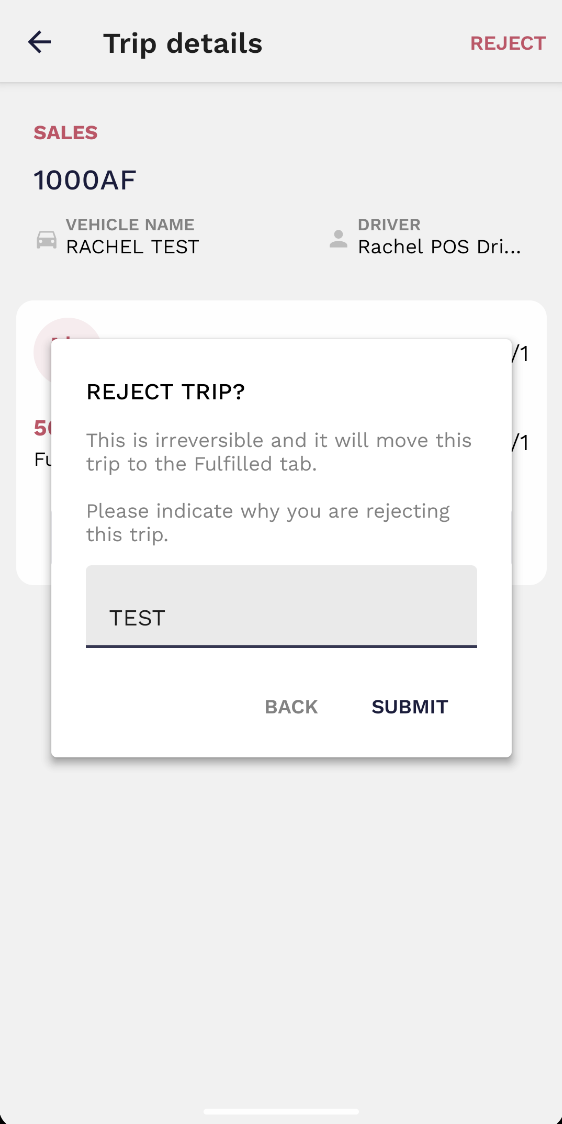
POS Managers have the ability to reject a trip if there’s a valid reason for that. In order to do that, all you need to do is select a trip and open the details page. A button to reject the trip will be displayed in the upper right corner.
To reject a trip you need to indicate the reason you’re rejecting it. A brief explanation will do.

No Comments