4. How to Sell Products
Sell Products
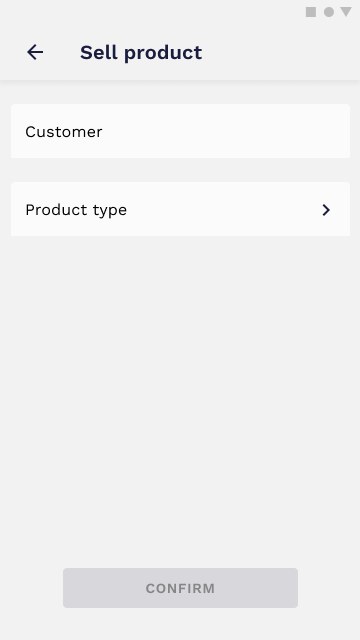
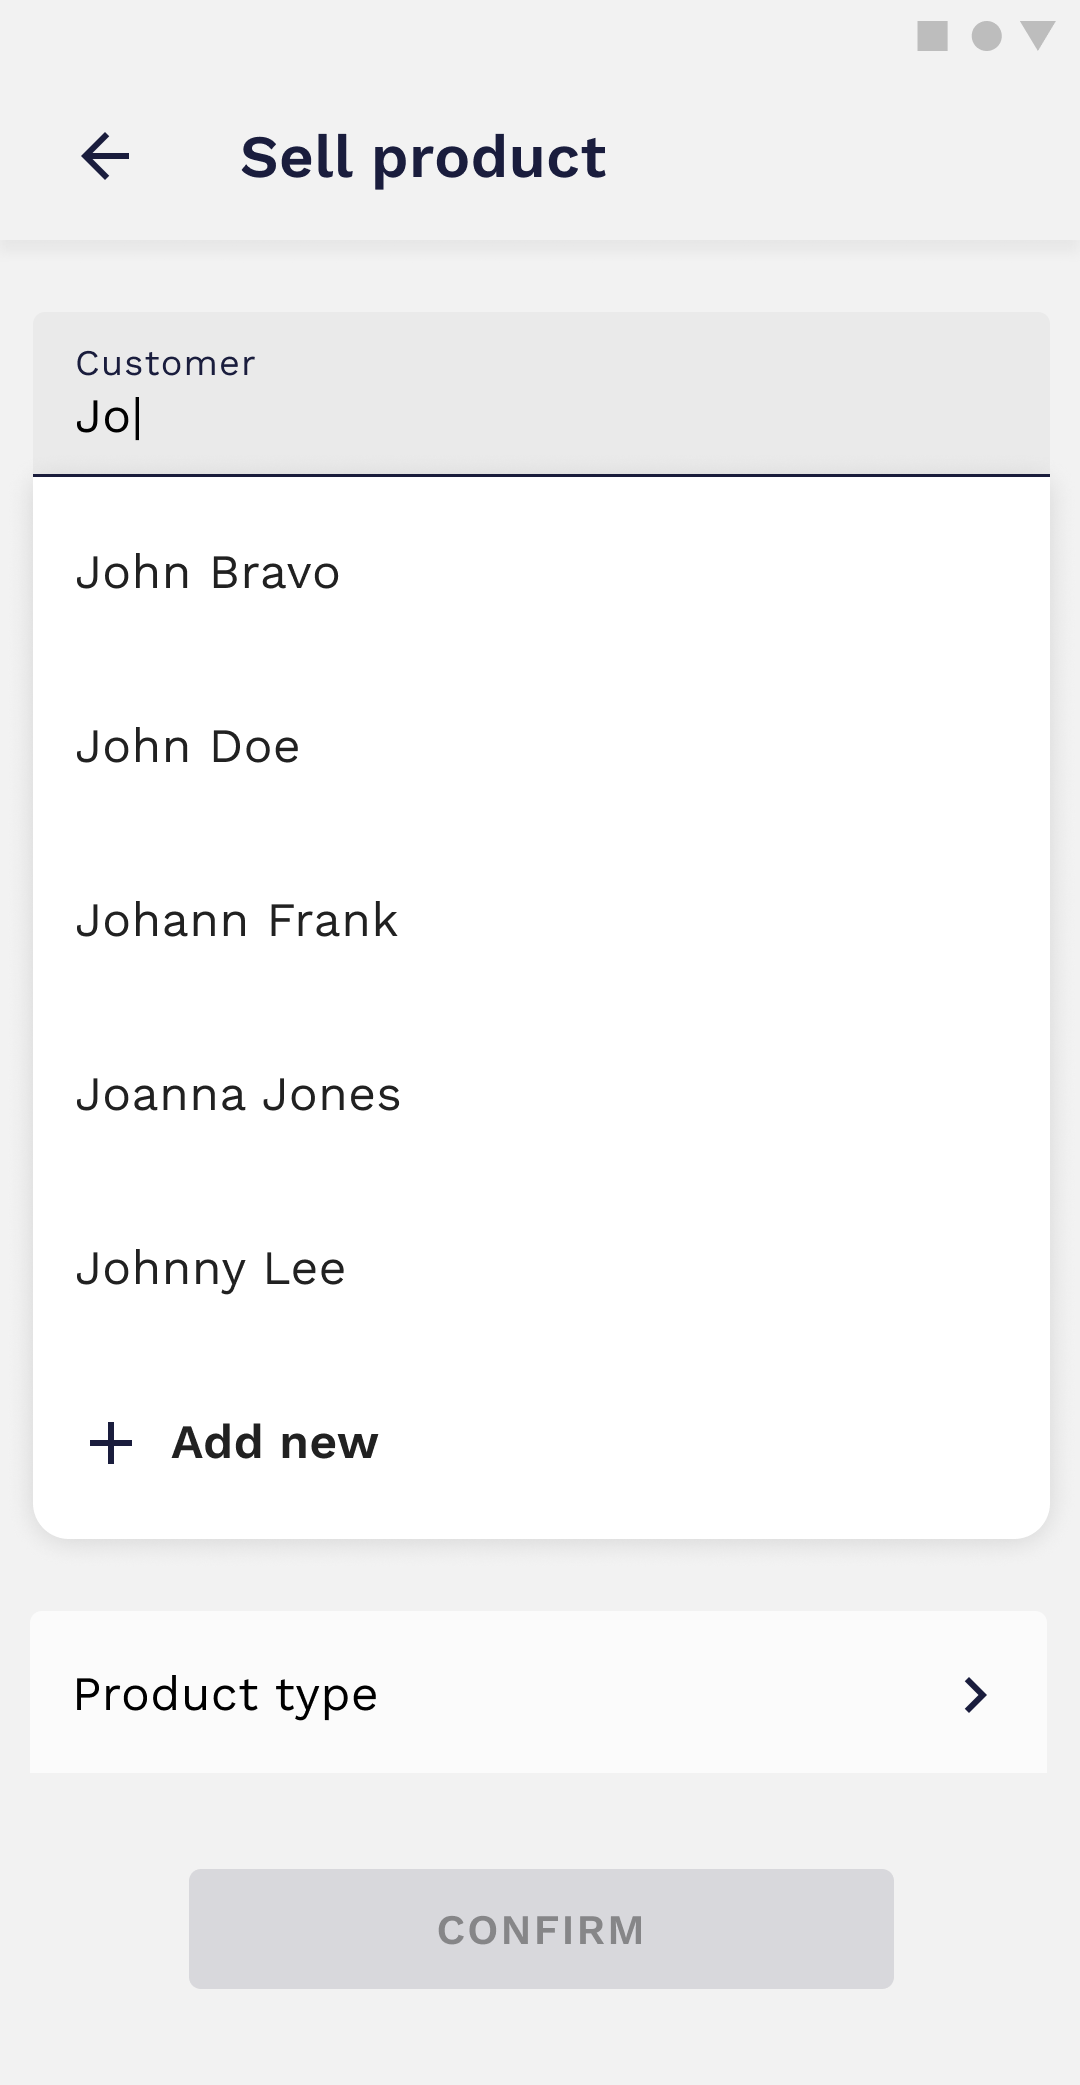
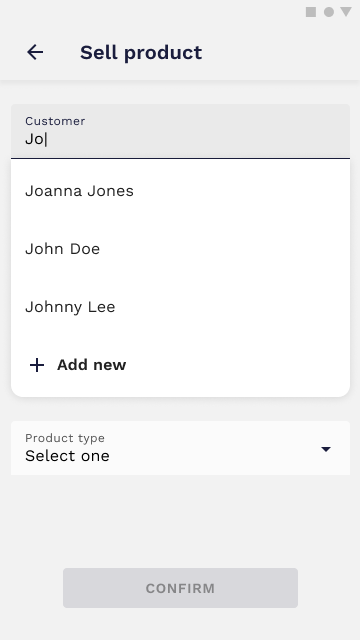
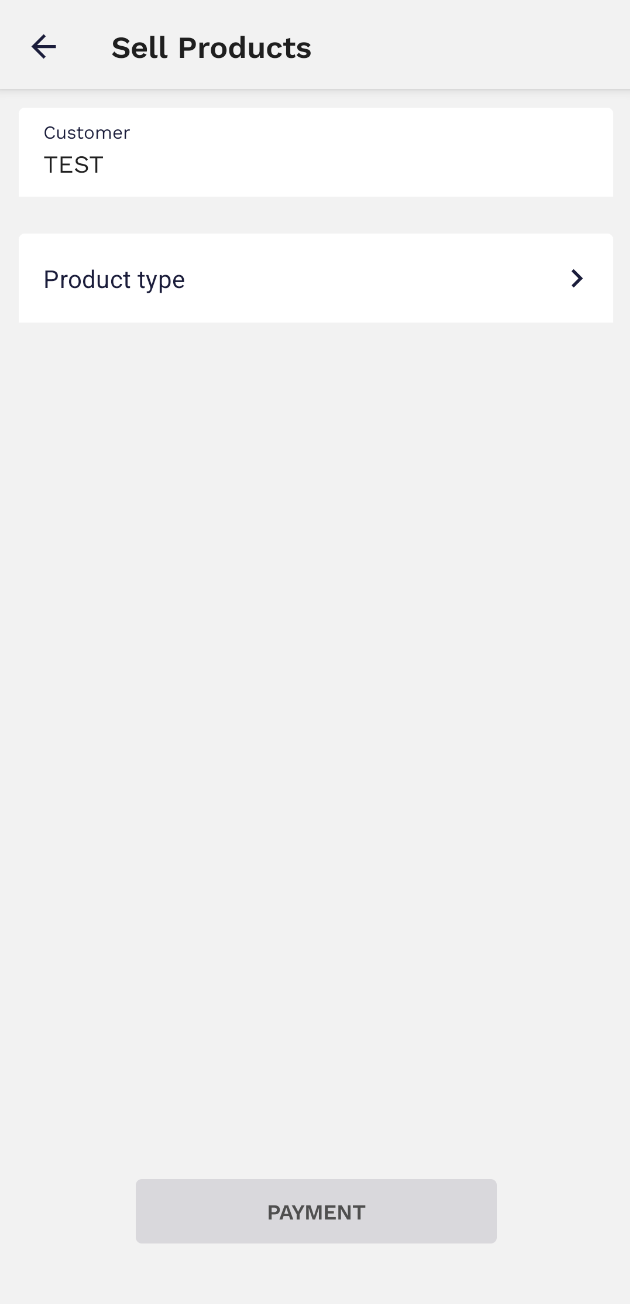
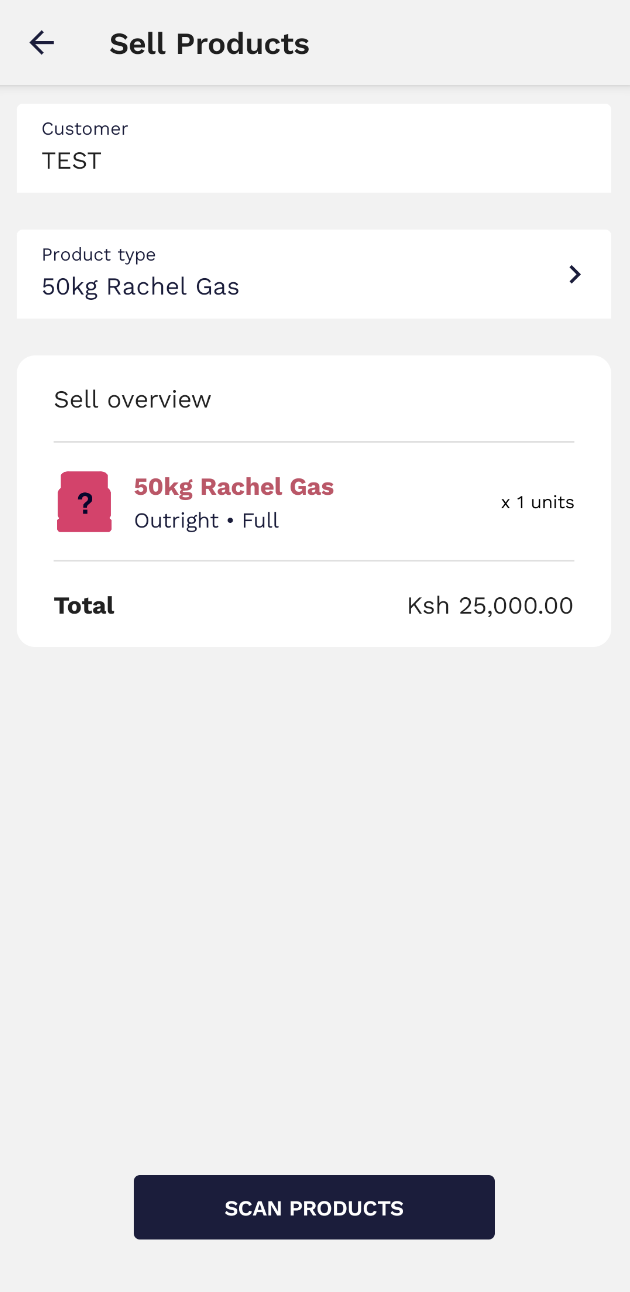
To sell the loaded products, click on the Sell button. This action becomes available only after the Loading action. You can select one of the available customers from the list or create a new one.
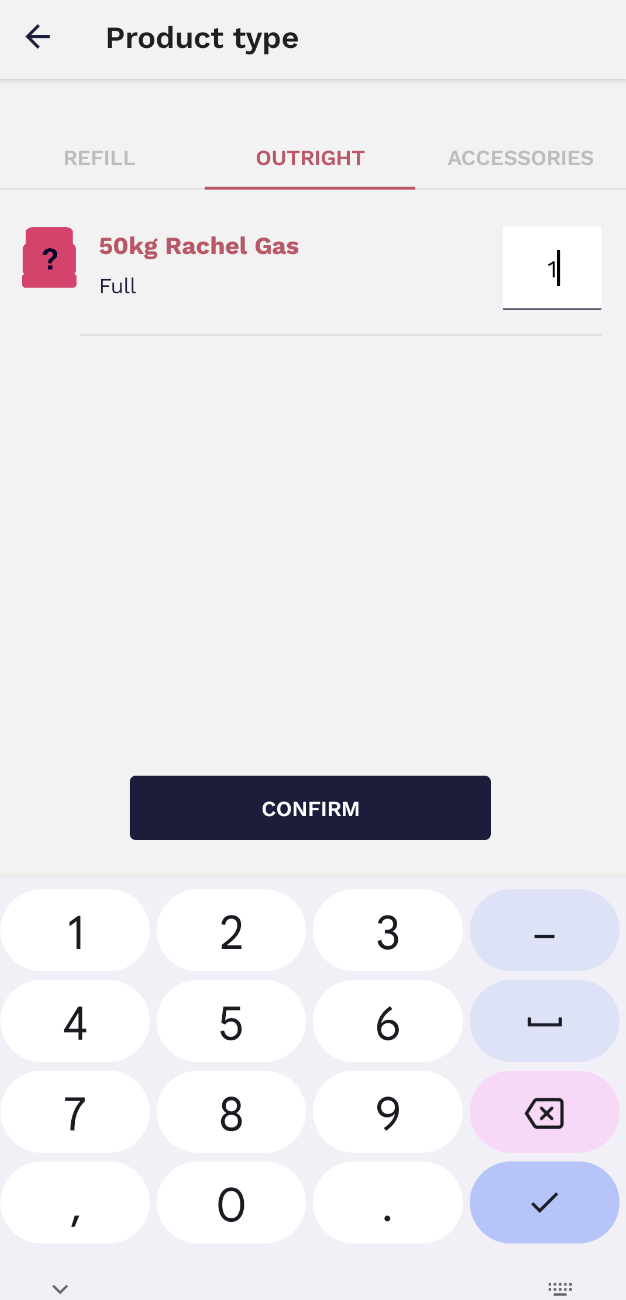
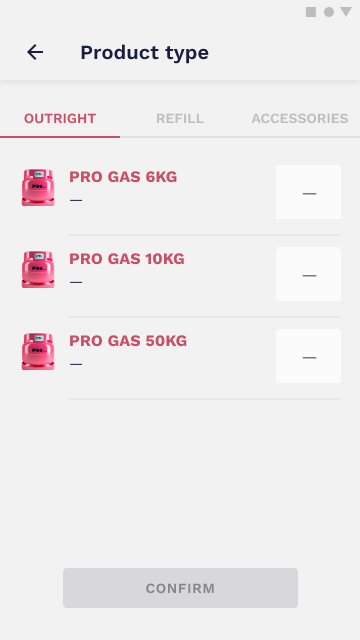
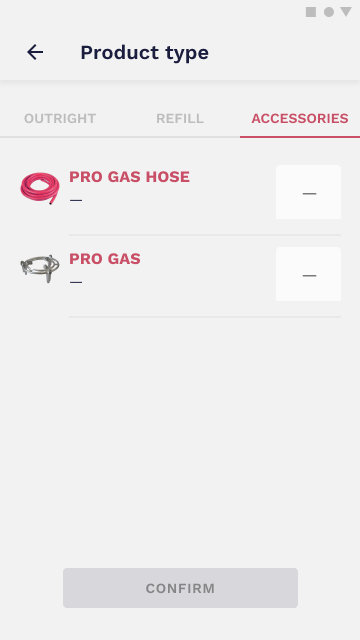
For products, you have access to the product catalog with multiple products (both Outright and Refill) and accessories. All inputs should be filled even if the amount is 0.
 |
 |
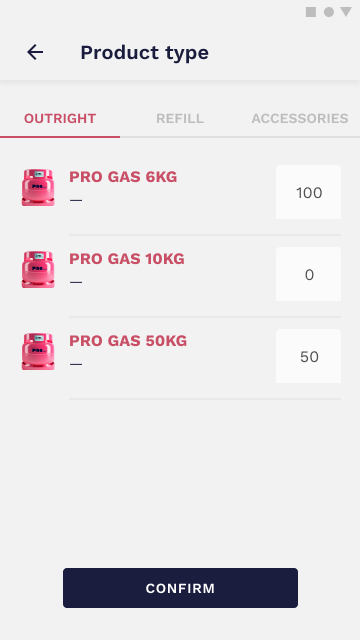 |
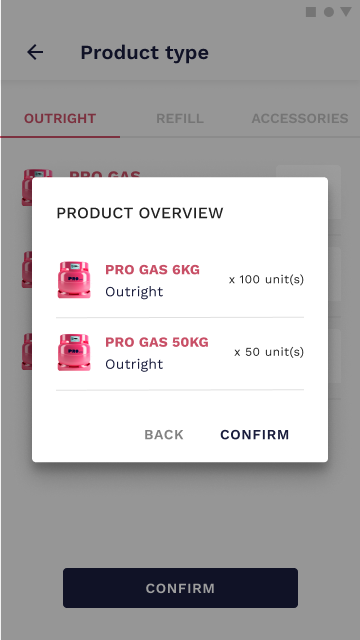
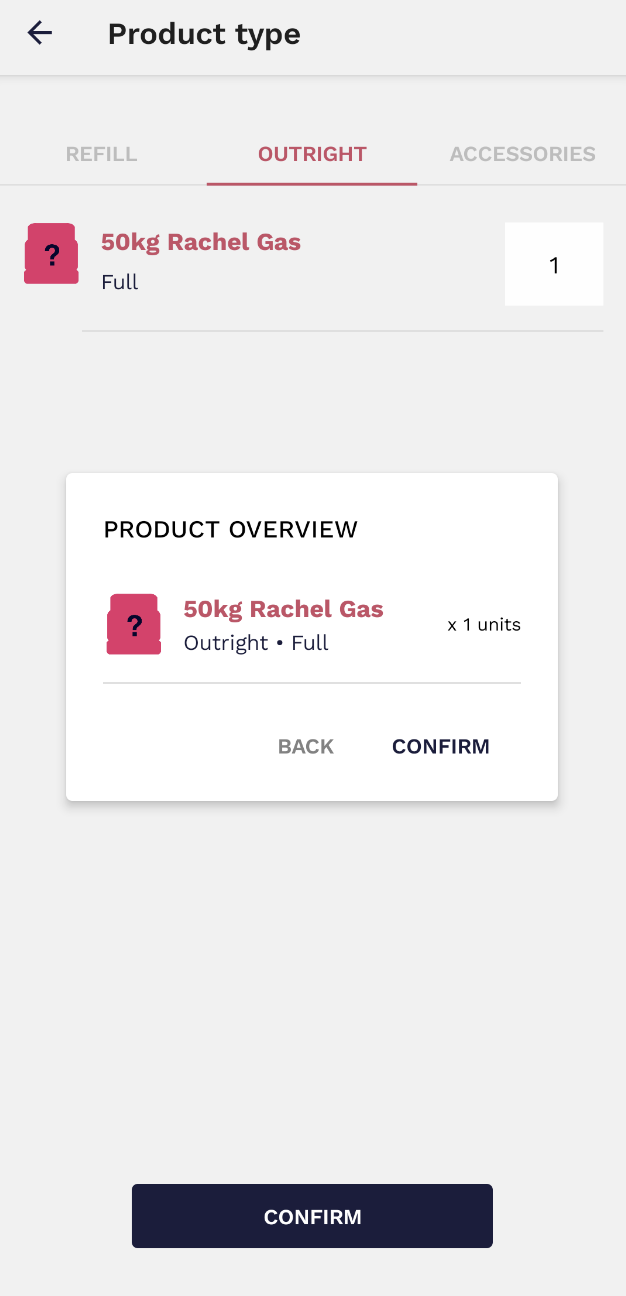
Like any other important action, this one must be confirmed before proceeding. You will be asked to confirm the quantities before moving to the next step.
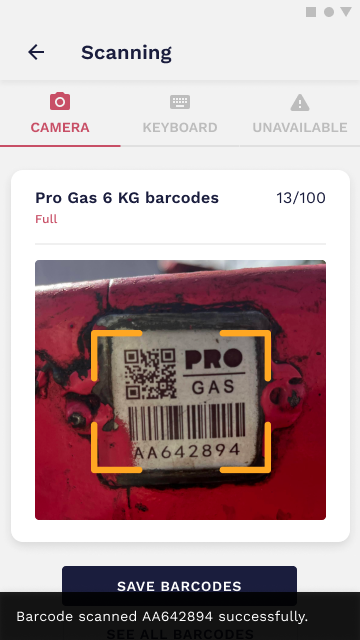
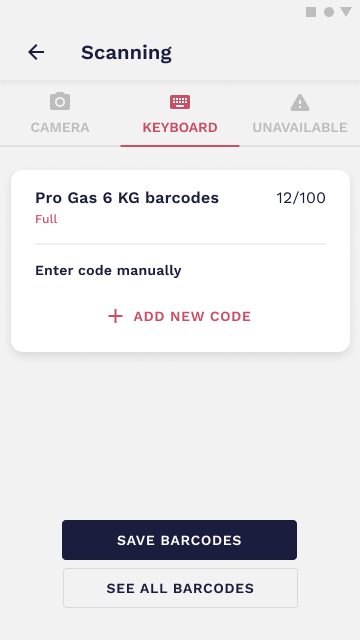
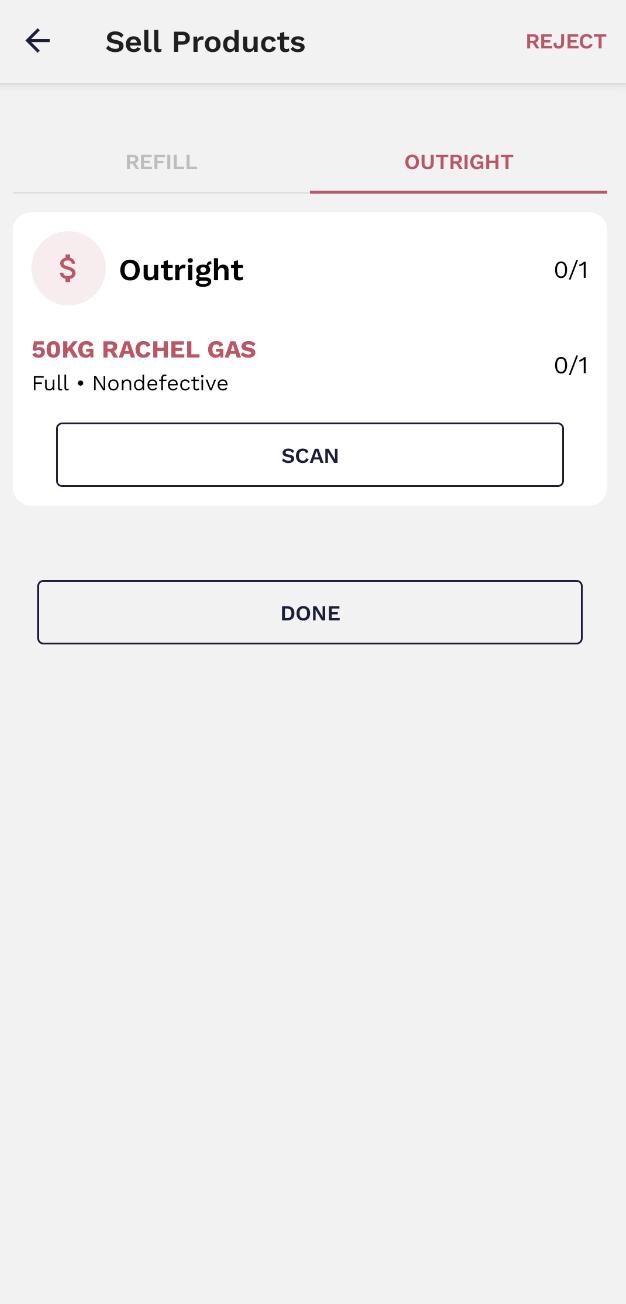
Scanning might be done by three different methods: Camera, Keyboard, or Unavailable. Use the camera to scan the code.
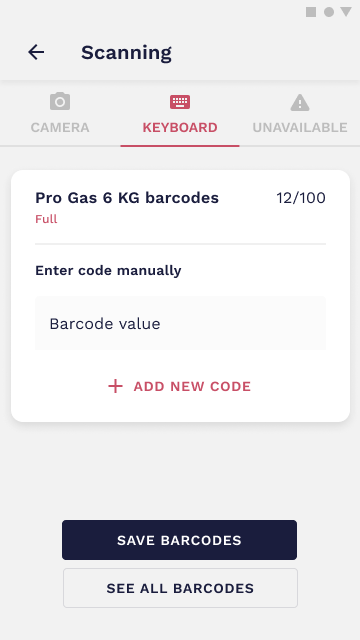
If that doesn't work you can click on KEYBOARD, click on ADD NEW CODE and type in the code. If no code is available click on the UNAVAILABLE tab.
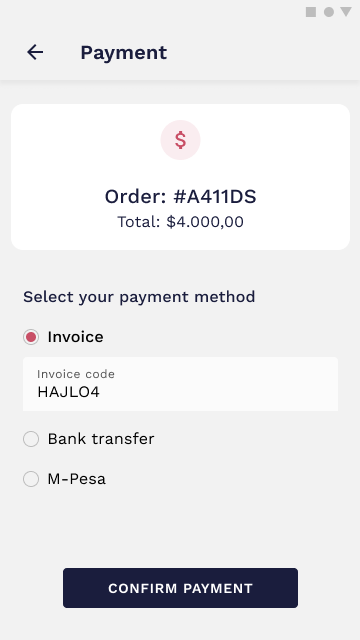
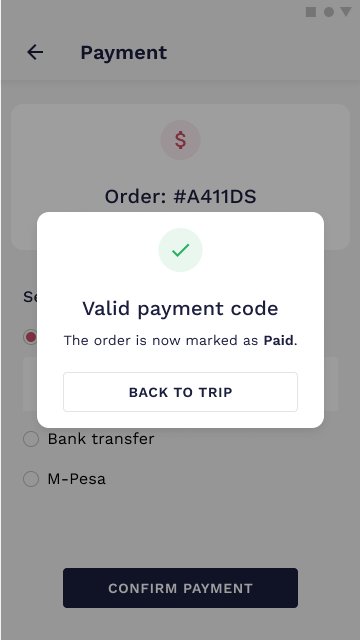
The payment might be done by three different methods: Invoice, Bank transfer, or MPESA code. All of them need a confirmation code to prove that the payment was made. All you need to do is select the payment method, introduce the payment code and confirm it. The request should be processed in a short period of time and if everything is correct, the payment will be successfully processed.
Video tutorial
Create a customer
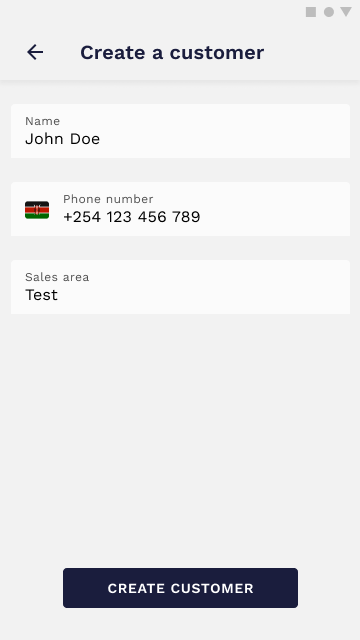
If your customers are not yet added to the customer list, you can manually add them. To do that, all you have to do is select Add new from the customer list and insert their information. They will be automatically added once you submit the form.
Video tutorials
Order details
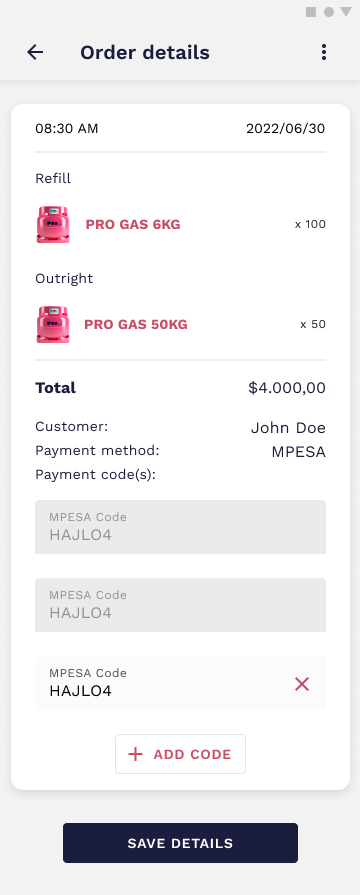
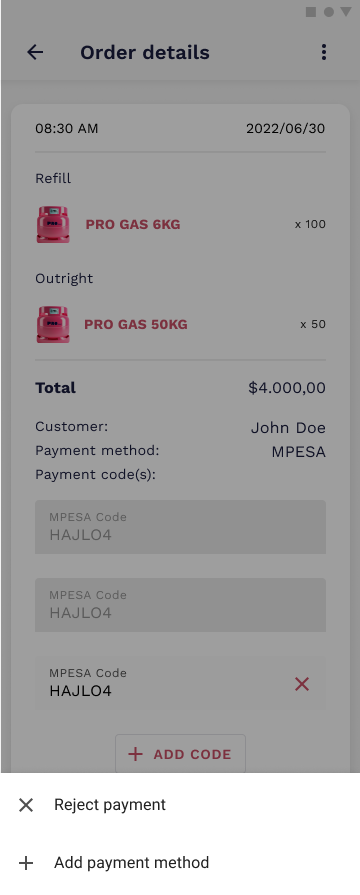
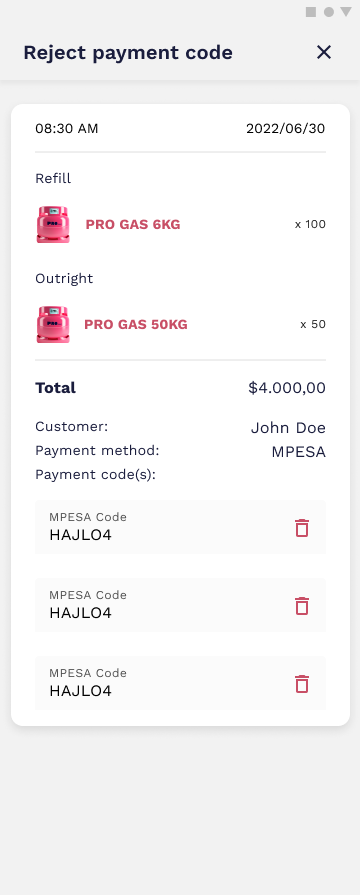
You can always access order details and view the receipts for the products you sold. Besides that, it is possible to add more payment codes, in case it’s needed, or reject the payment if there’s any reason for that.
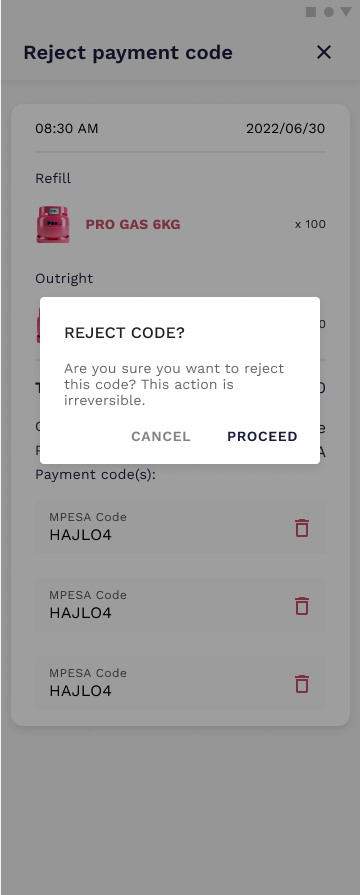
You can reject payment codes but remember that this action is irreversible so it should only be done in case there’s a valid reason for that.
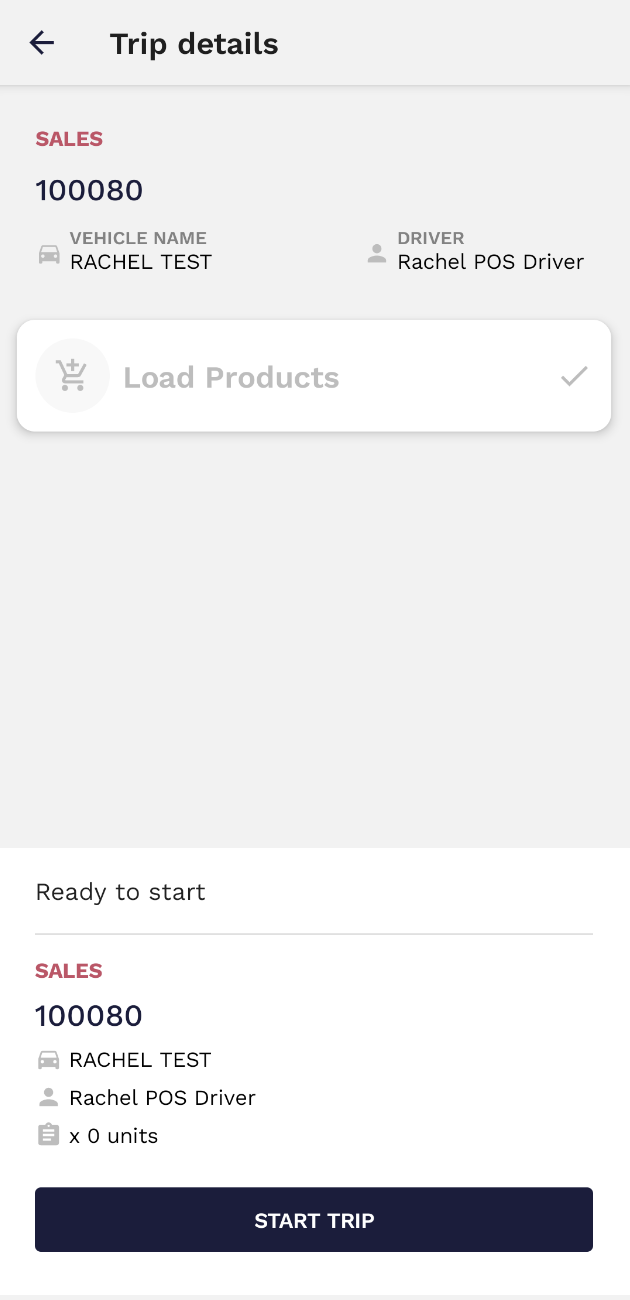
Once the products have been loaded and the load is confirmed and signed, you can begin. Click on Start Trip to initiate the trip and start to sell the products.
The offload option is always available because it is not mandatory to sell every product from the stock in order to offload.
To make an outright sale, you should insert the customer name (or add a new one if necessary) and select the product type. Then choose the correct type of sale (refill/outright or accessory) and insert the correct quantity.
Then, a window will appear where you are requested to confirm the sale.
In order to complete the sale, you must scan the cylinder/s being sold.
If the barcode cannot be scanned, you can insert the serial number by manually typing it in (from the keyboard section).
If the sale is a refill, then you must scan both the full cylinder (in your vehicle) and the empty cylinder (that is going to be refilled).

