# Filling Managers
# 1. How to Log in/ Clock in
#### Log in
In order to use the app as a Filling Manager, you need to log in using a **valid phone number**. After that, you will receive a confirmation code and the application will ask you to introduce that code to guarantee a secure authentication.
[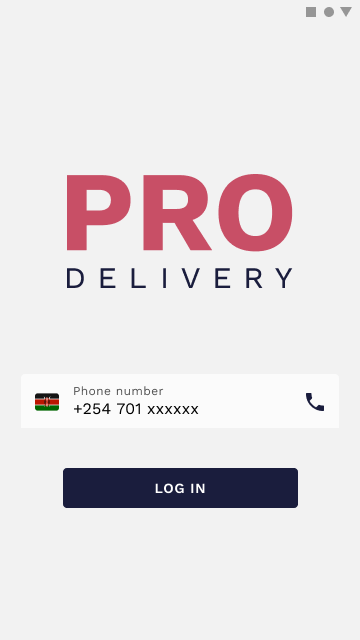](https://wiki.circl.services/uploads/images/gallery/2022-09/log-in-filled.png)
[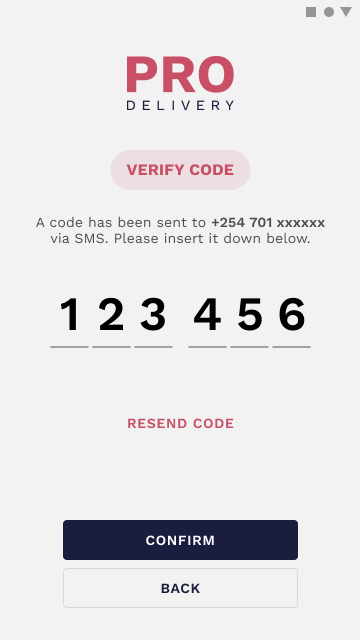](https://wiki.circl.services/uploads/images/gallery/2022-09/insert-code-filled.png)
Confirm the code and you’re ready to use the app. In case something goes wrong, you can always ask for another code by clicking on the **Resend Code** button.
#### Clock in
To perform any action in the app as a Filling Manager, besides the **Login/Log Out**, you need to **Clock In** to start your shift. You can simply do that by clicking on the **Clock In** button. Once you’re clocked in, you can view your assignments (trips and vehicles) and start your working shift.
[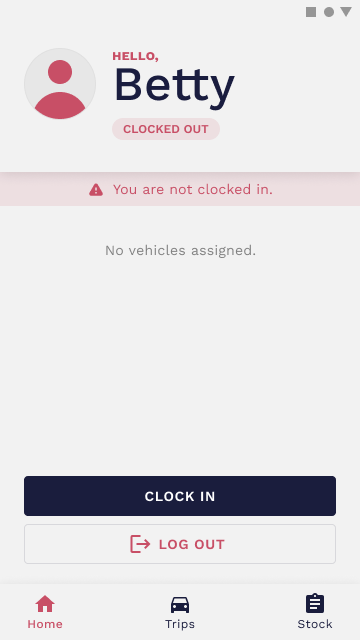](https://wiki.circl.services/uploads/images/gallery/2023-03/home-clocked-out.png)
[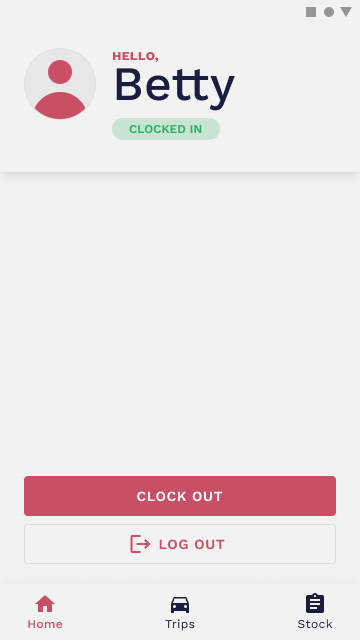](https://wiki.circl.services/uploads/images/gallery/2023-03/clocked-in.png)
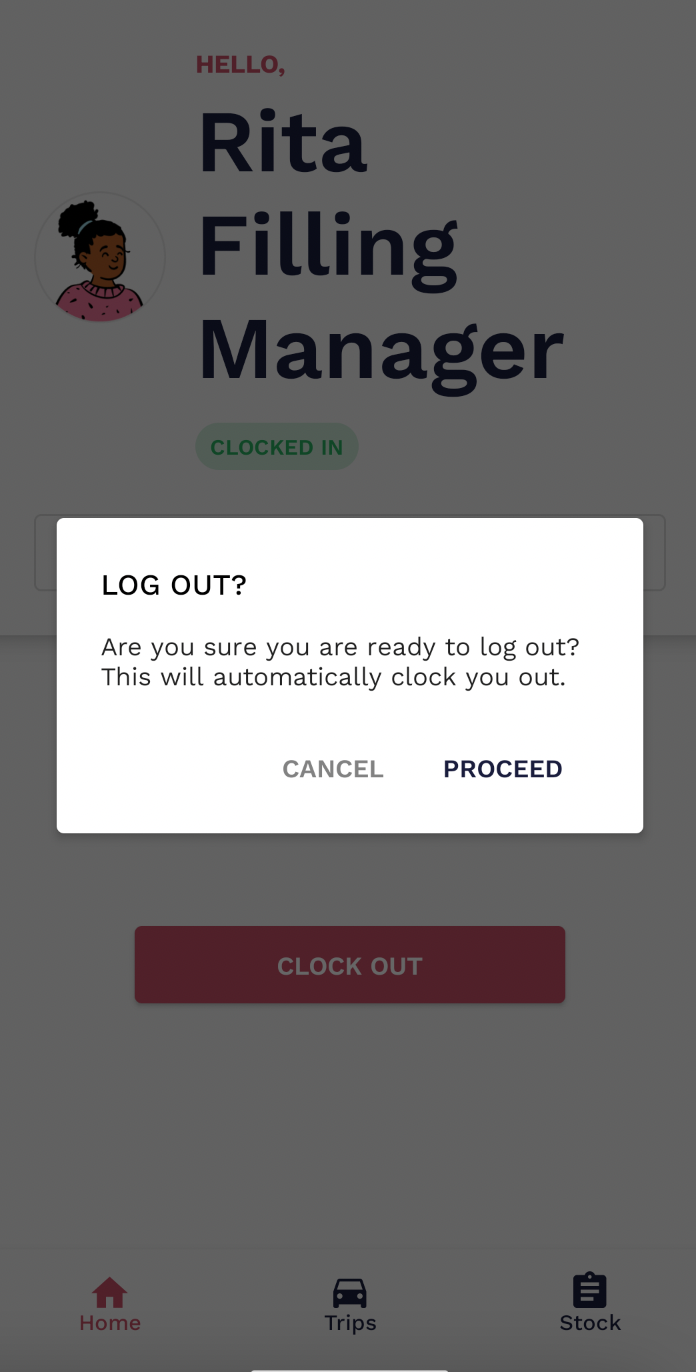
#### Clock out & Log out
Similar to **Clock in**, after finishing your shift, you should click on the **Clock Out** button and Log out. If you Log out without clocking out, it will automatically register your shift as finished.
[](https://wiki.circl.services/uploads/images/gallery/2022-09/7nv4bzimage.png)
# 2. How to Manage Stock
#### Stock
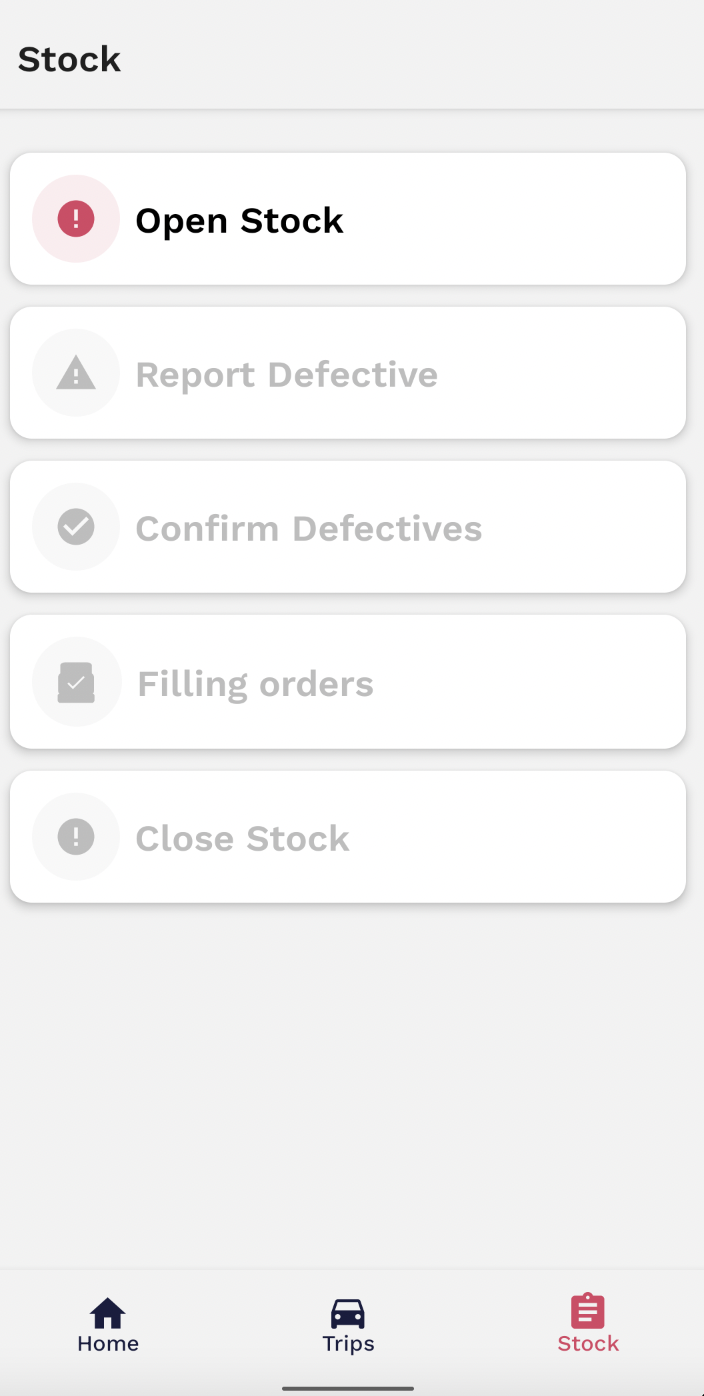
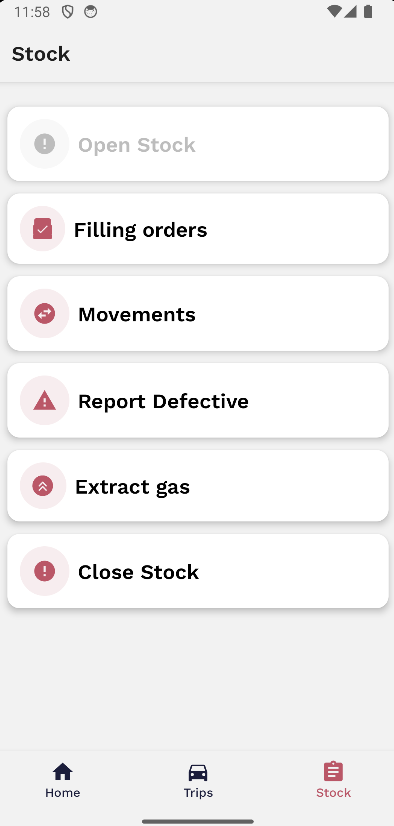
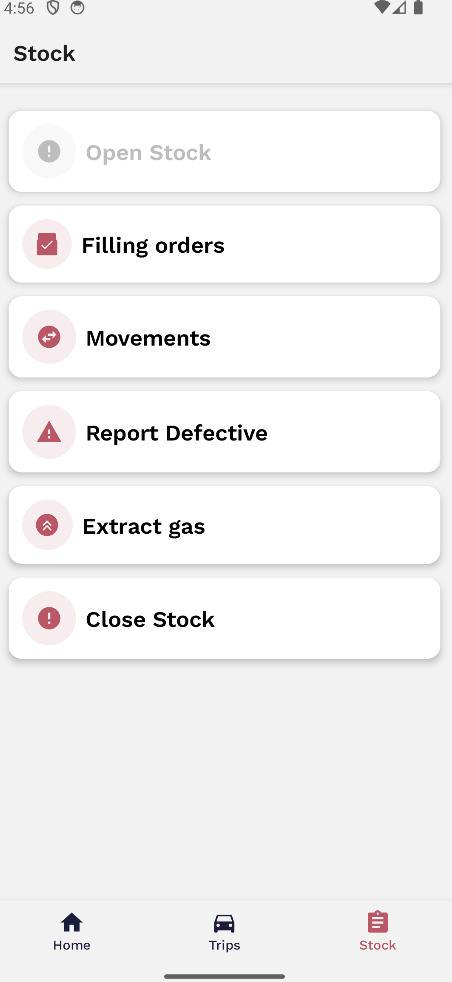
When clocked in, as a Filling Manager you need to perform the opening stock take of the day. Similar to a container manager. Therefore all products need to be counted and reported in the opening stock in the **Stock** tab:
[](https://wiki.circl.services/uploads/images/gallery/2022-09/cwtimage.png)
[](https://wiki.circl.services/uploads/images/gallery/2022-09/4Jwe0limage.png)
After opening stock a Filling Manager can now start to perform the following actions on the **Stock** tab:
- **Filling Orders**
- **Movements**
- **Report Defectives**
- **Extract Gas**
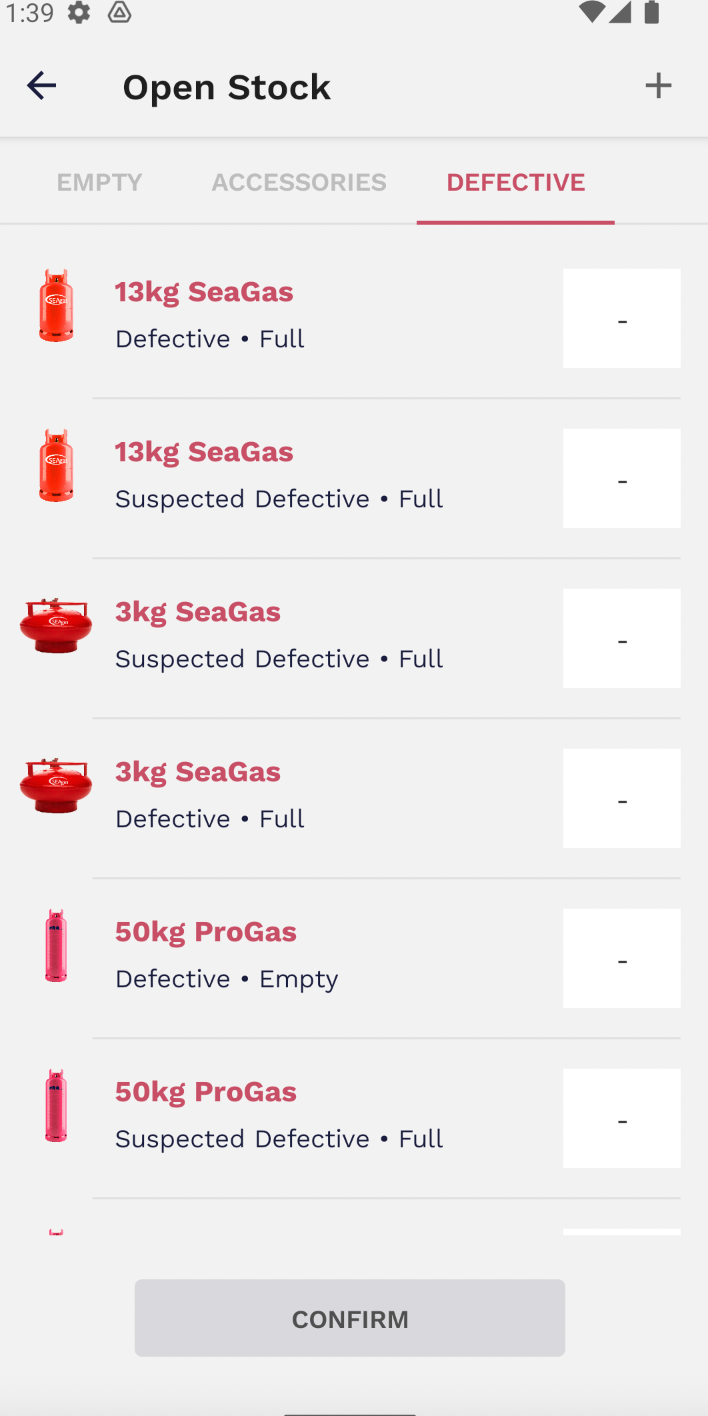
- Report any cylinder that may look or actually is damaged to be later transported to the defective yards and be examined and confirm as a defective product or not.
[](https://wiki.circl.services/uploads/images/gallery/2022-09/rsEimage.png)
[](https://wiki.circl.services/uploads/images/gallery/2022-09/vO9image.png)
[](https://wiki.circl.services/uploads/images/gallery/2022-09/gVSimage.png)
**2) Filling Orders**
The Filling Manager can check the filling orders currently available in a list as card details (similar to the trip cards). Then click on the card and receive more information on the filling order. click on the **Moving Product(s)** button to perform the filling action.
[](https://wiki.circl.services/uploads/images/gallery/2022-09/rsEimage.png)
[](https://wiki.circl.services/uploads/images/gallery/2022-09/k2eimage.png)
After selecting a given **Filling Order** and confirming all the information, click on the **Moving Product(s)** button to perform the filling action. Then select the requested amount and click on the **Confirm** button.
[](https://wiki.circl.services/uploads/images/gallery/2022-09/8Xgimage.png)
[](https://wiki.circl.services/uploads/images/gallery/2022-09/ILGimage.png)
[](https://wiki.circl.services/uploads/images/gallery/2022-09/Dpbimage.png)
After this step, the driver also has to move the same amount of products in his app to finish the process. And filling will be available.
[](https://wiki.circl.services/uploads/images/gallery/2023-03/fill.png)
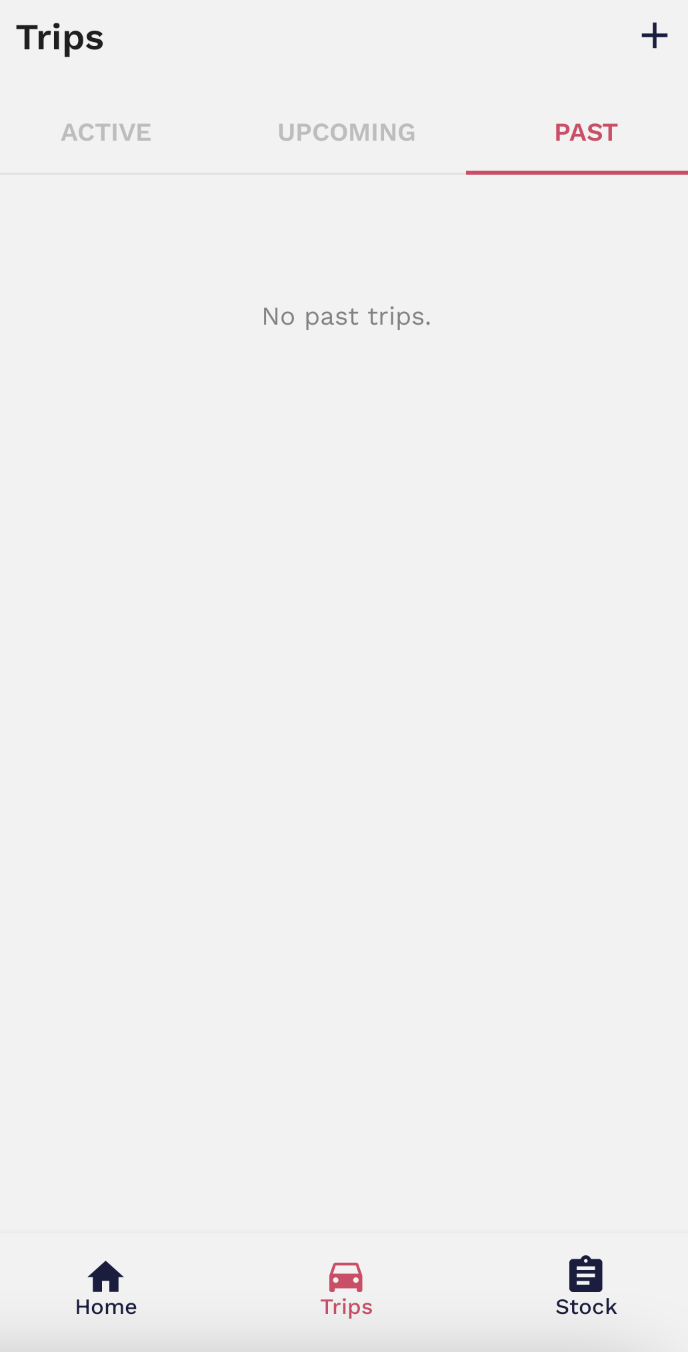
# 3. How to Manage Trips
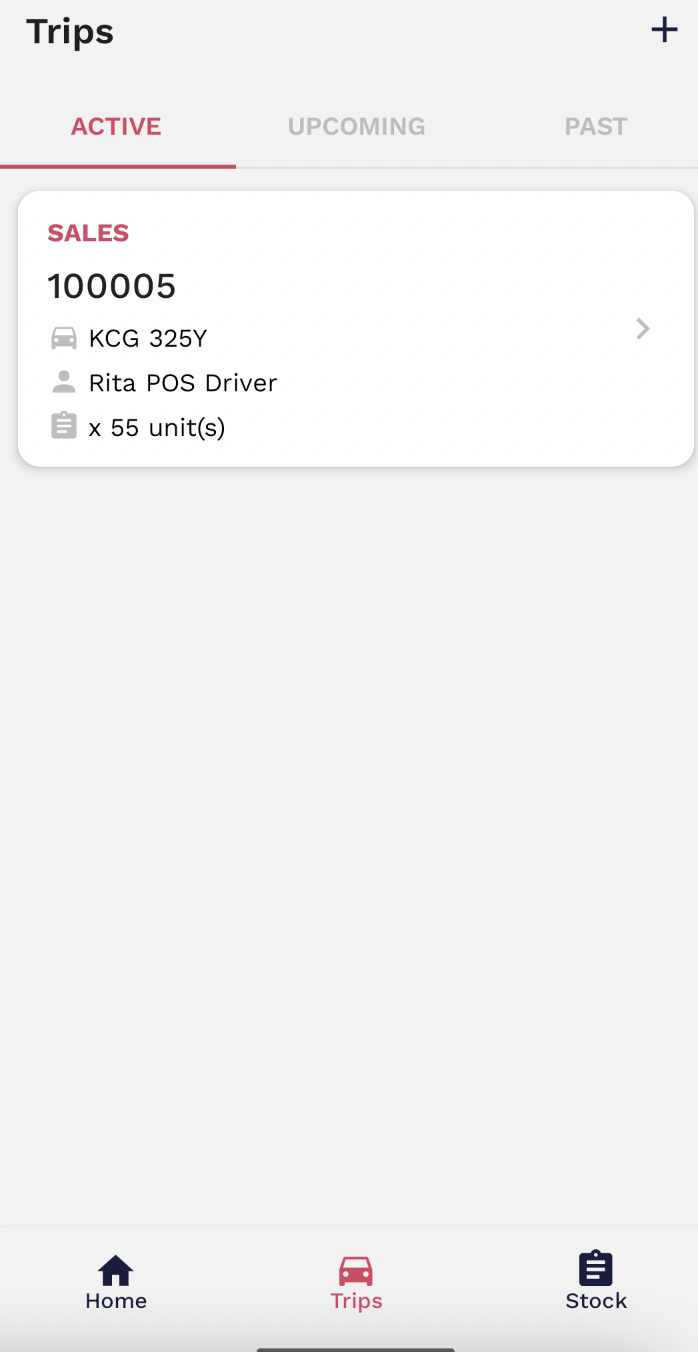
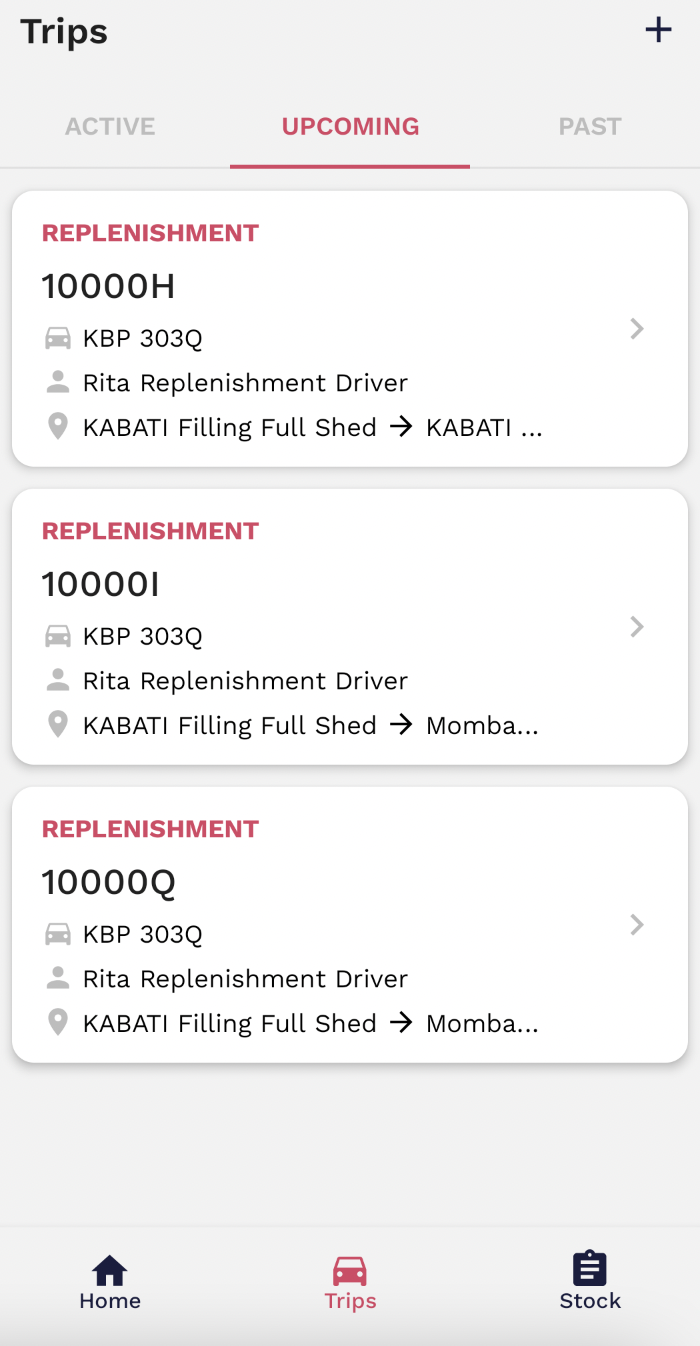
In the **Trip** tab as a Filling Manager, you can manage your trips. In the trips, you can select to see the **Active**, **Pending**, and **Past Trips**.
[](https://wiki.circl.services/uploads/images/gallery/2022-09/frIimage.png)
[](https://wiki.circl.services/uploads/images/gallery/2022-09/vzFimage.png)
[](https://wiki.circl.services/uploads/images/gallery/2022-09/ddAimage.png)
For the pending trips, you can start loading to transport products to filling by clicking on the **Load** button and then by clicking on the **Confirm and sign loading** button, insert the pretended quantities and click on the **Confirm** button to finish the process.
[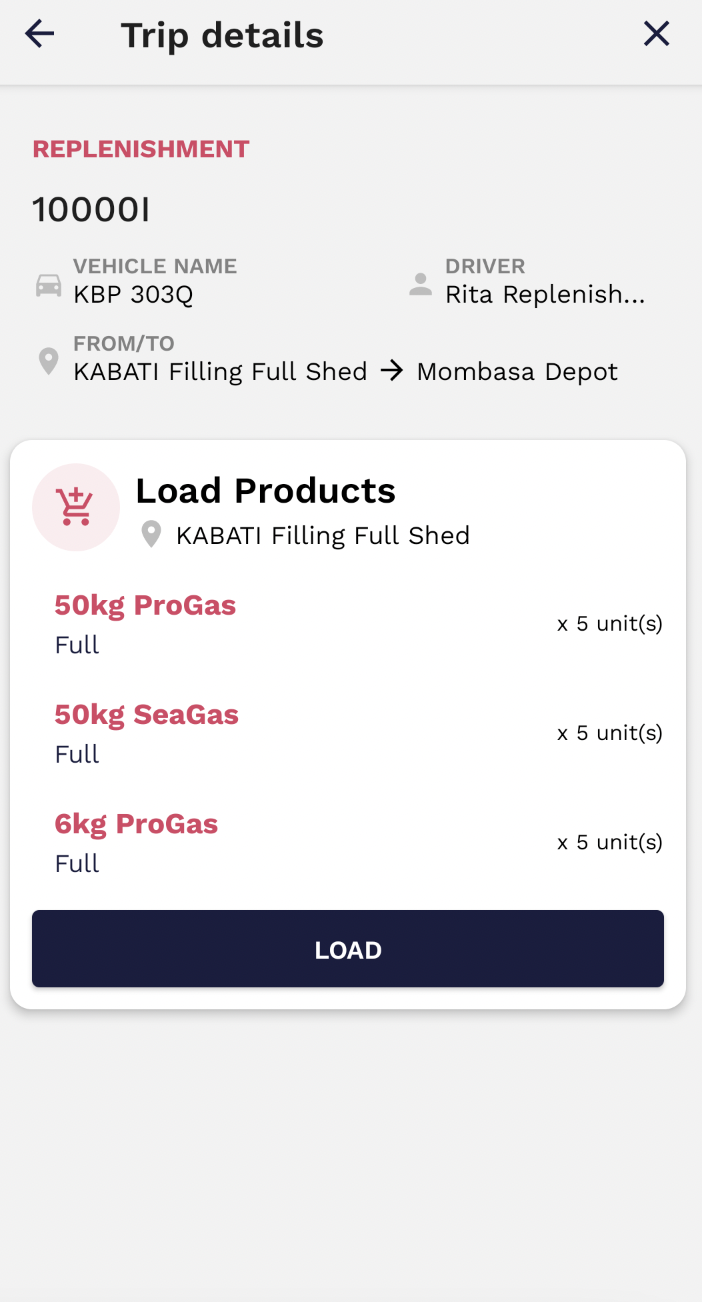](https://wiki.circl.services/uploads/images/gallery/2022-09/gMsimage.png)
[](https://wiki.circl.services/uploads/images/gallery/2023-03/load-confirm-sign.png)
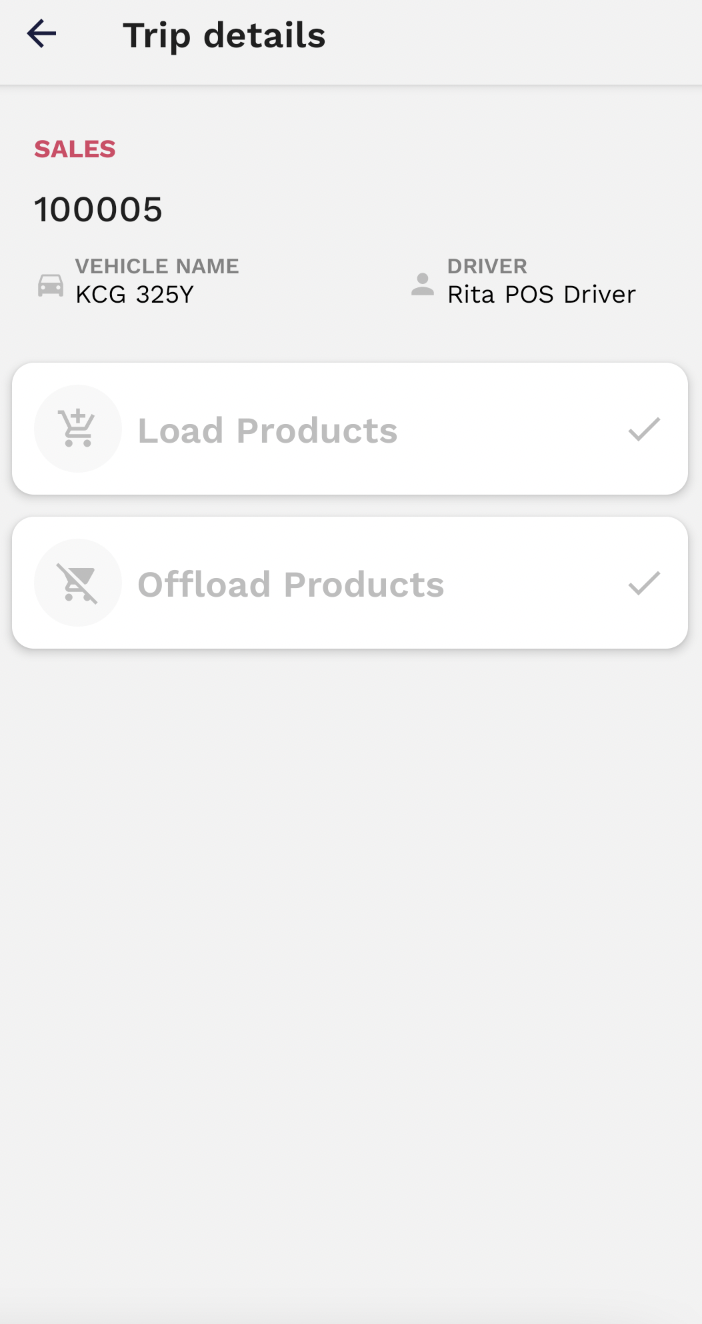
And for the active trips, you can offload the products by clicking on the **Offload** button. After this, the filling process and trip are finished.
[](https://wiki.circl.services/uploads/images/gallery/2022-09/ZzSimage.png)
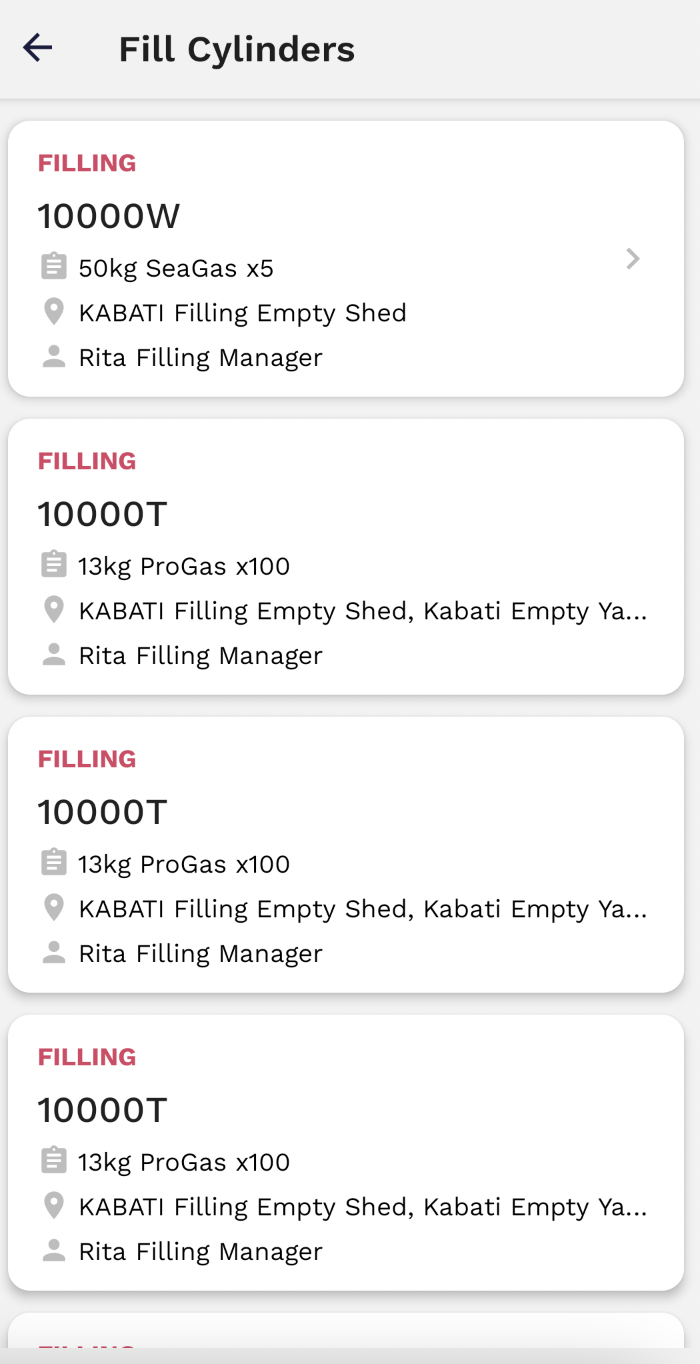
# 4. How to Manage Filling orders
The filling manager possesses the ability to fill empty cylinders in a filling station, provided they are not defective. When an order is generated in the back office, it will be displayed in the 'filling orders' section of the stock tab.
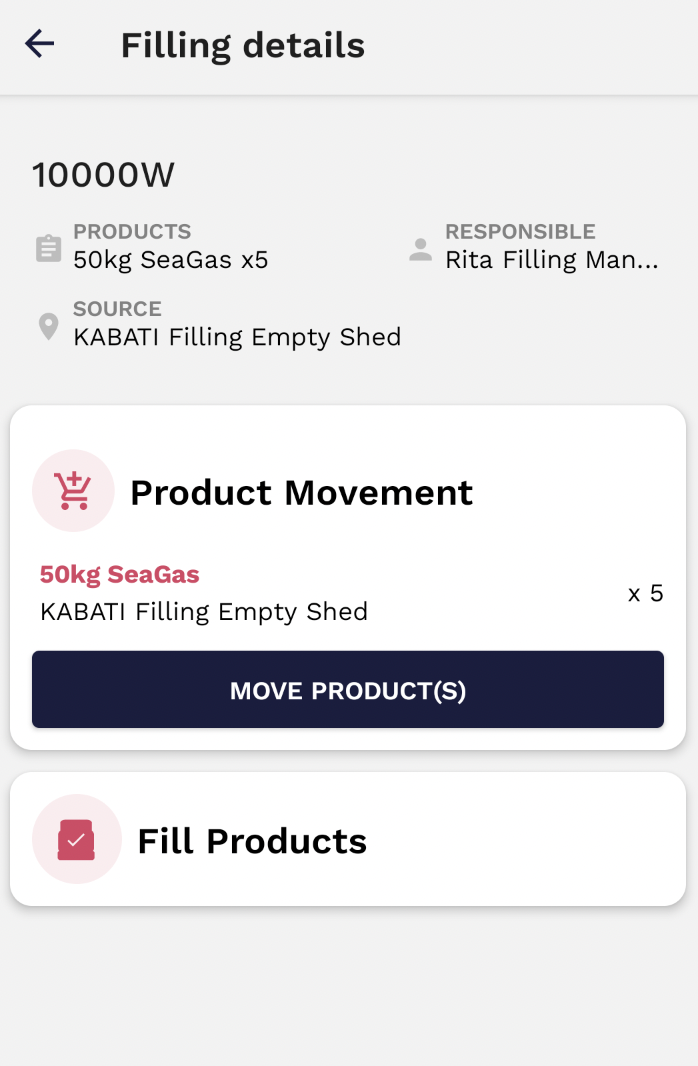
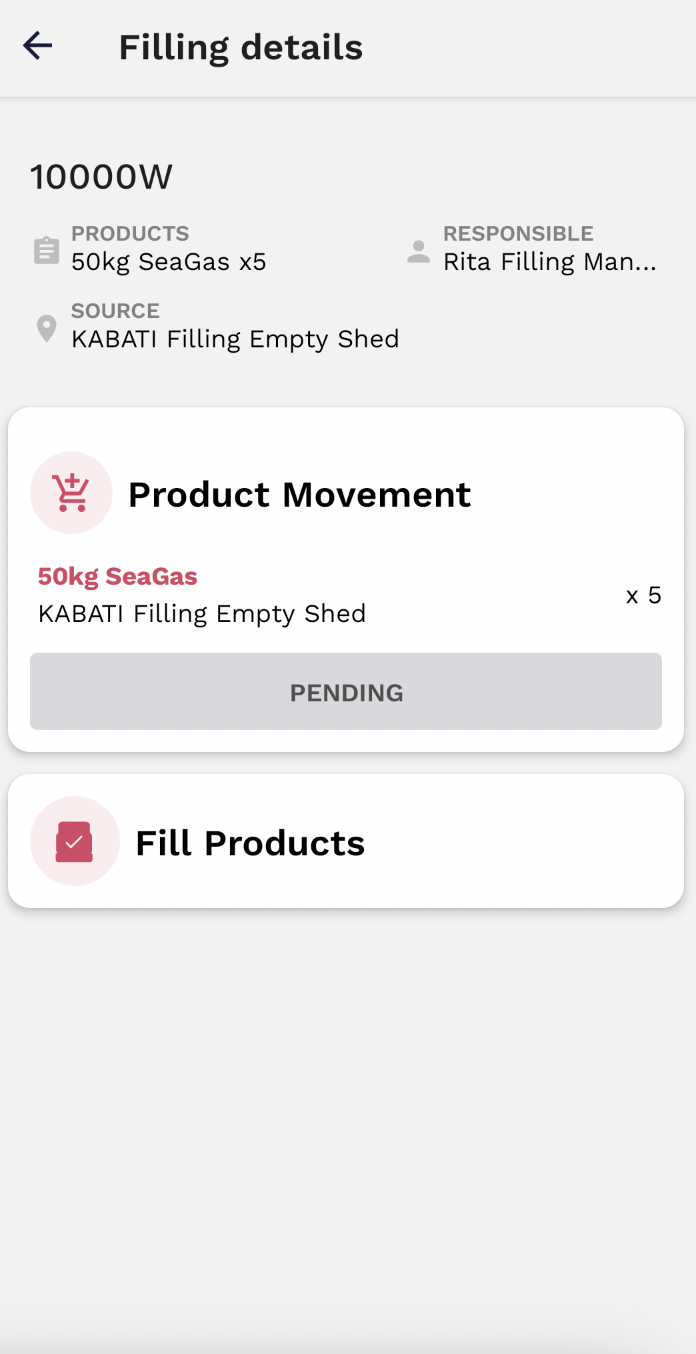
To proceed with the order, the user needs to click on the specific order that needs to be fulfilled. Upon clicking on the order, the filling details will be displayed, providing the necessary information to carry out the filling process.
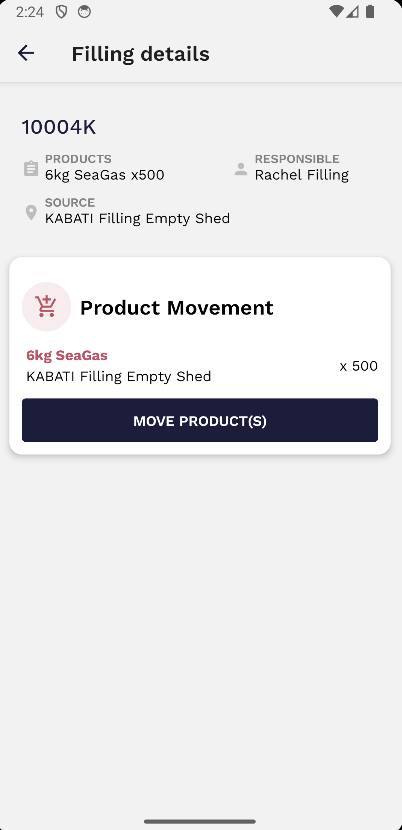
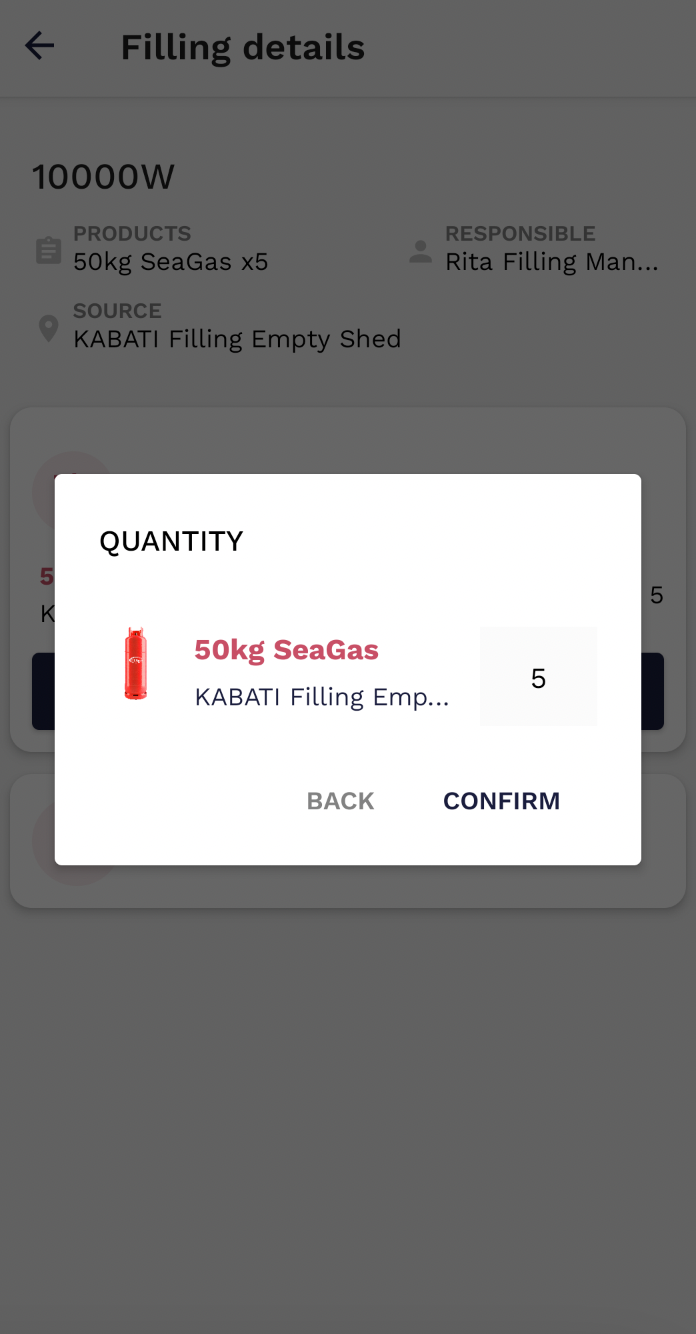
Afterward, the user should choose the 'move product(s)' option. This will trigger a pop-up where the user must confirm the quantity of cylinders that are going to be filled.
[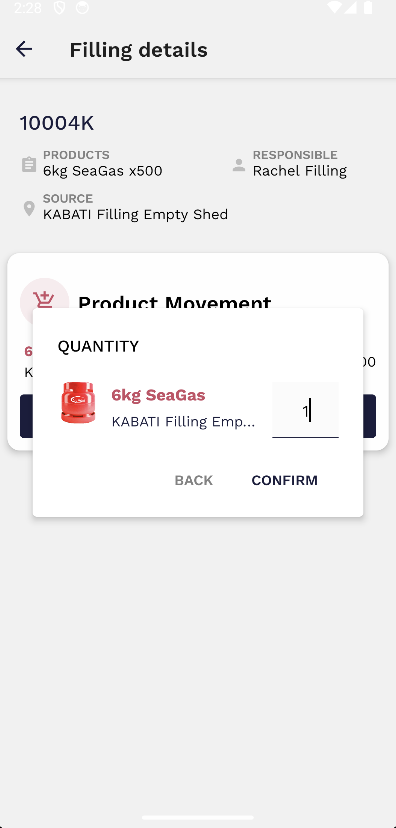](https://wiki.circl.services/uploads/images/gallery/2023-07/WEvimage.png)
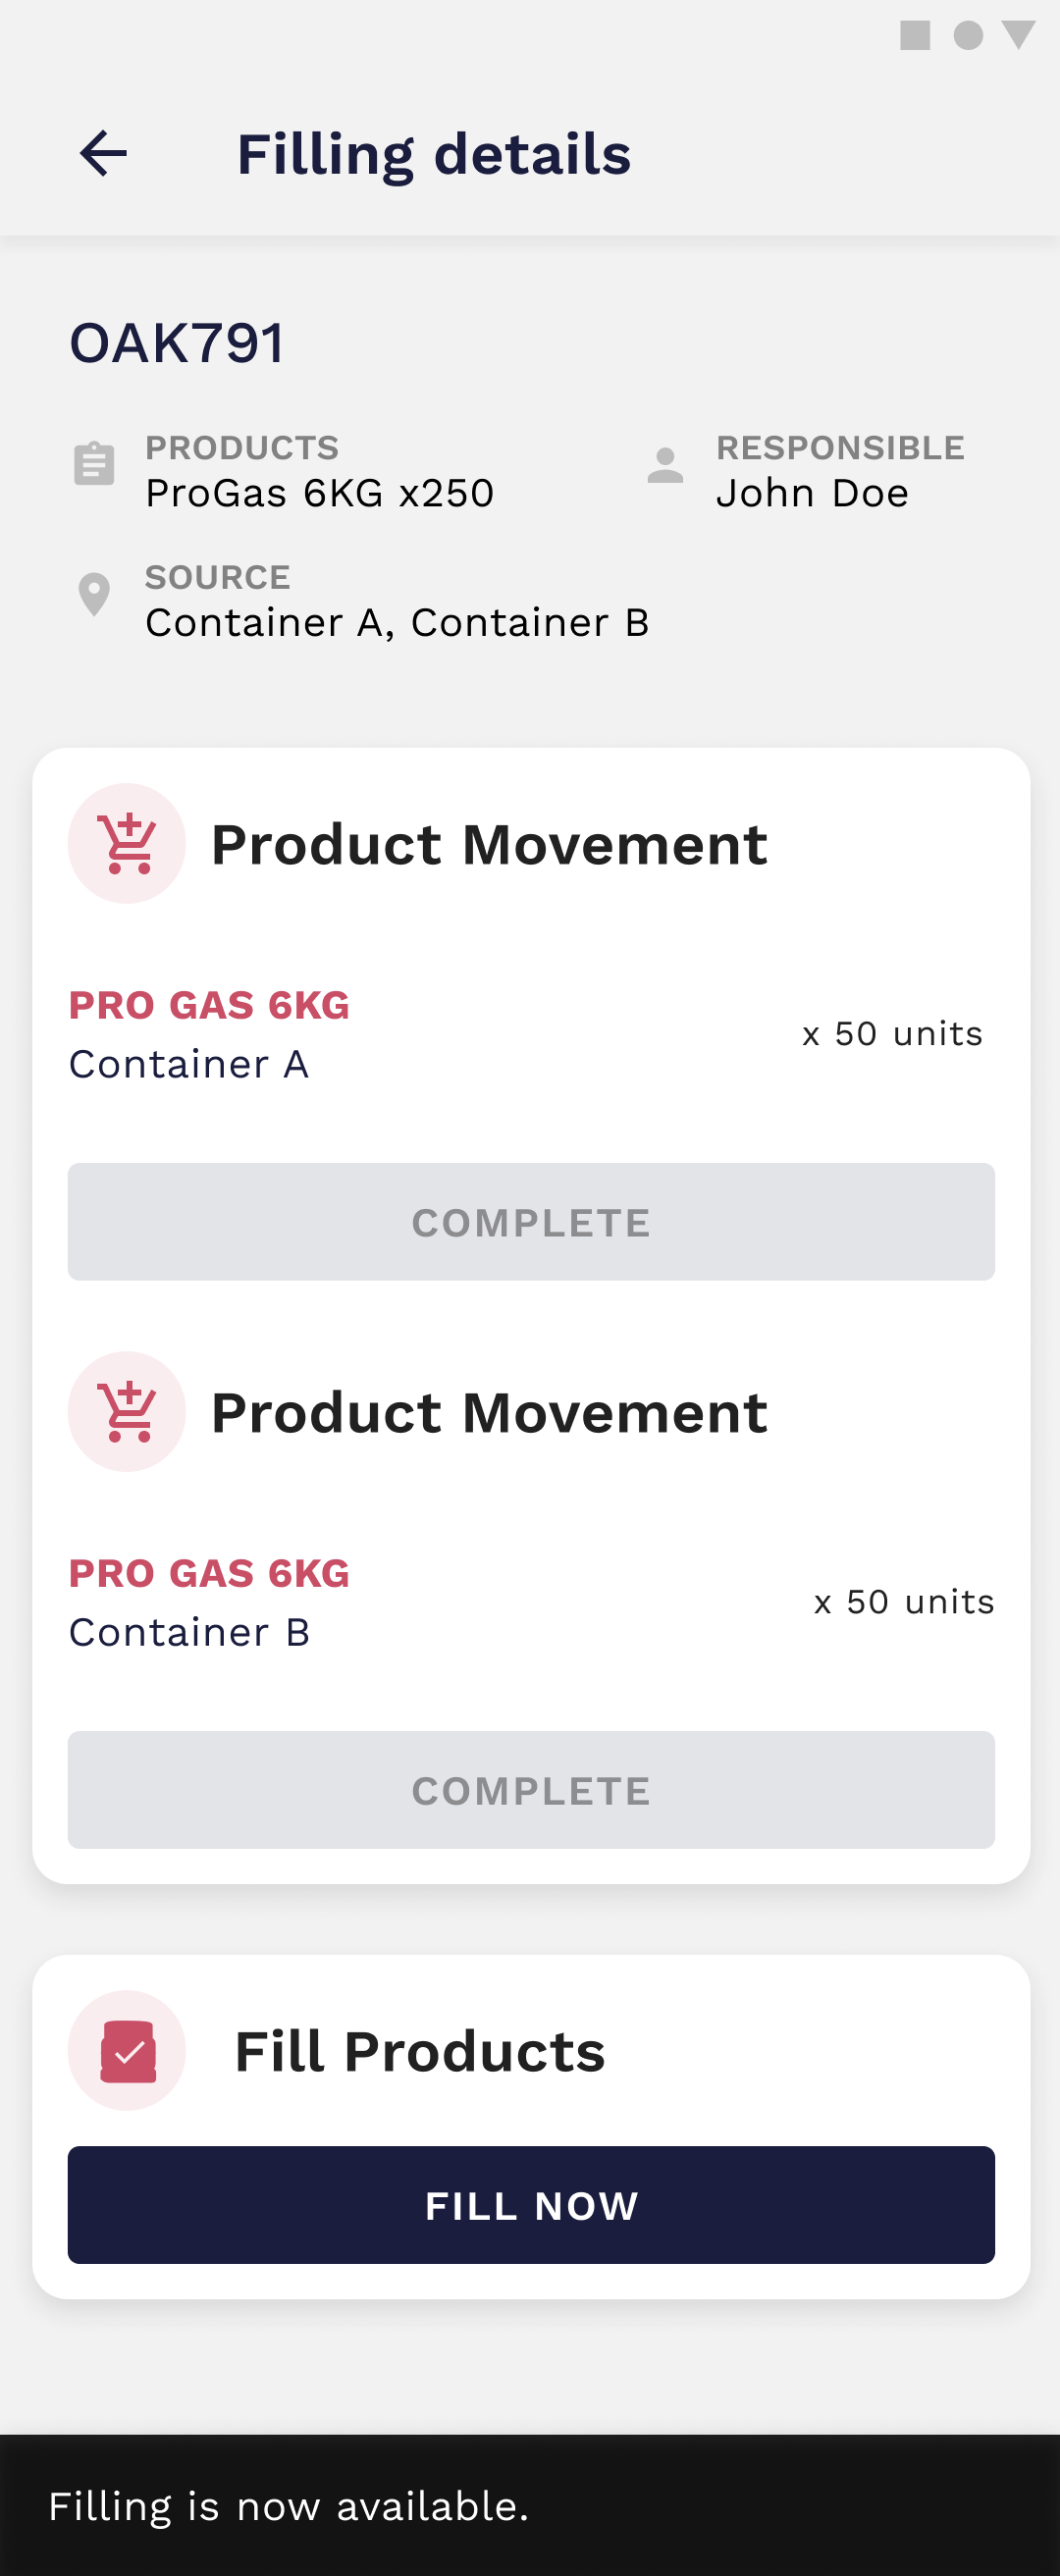
Additionally, this movement must also be authorised by the container coordinator at the location where the empty cylinders are stored. Once the confirmation is signed by the coordinator, the product movement initiated by the filling manager will be marked as 'complete.' At this point, the filling process can commence.
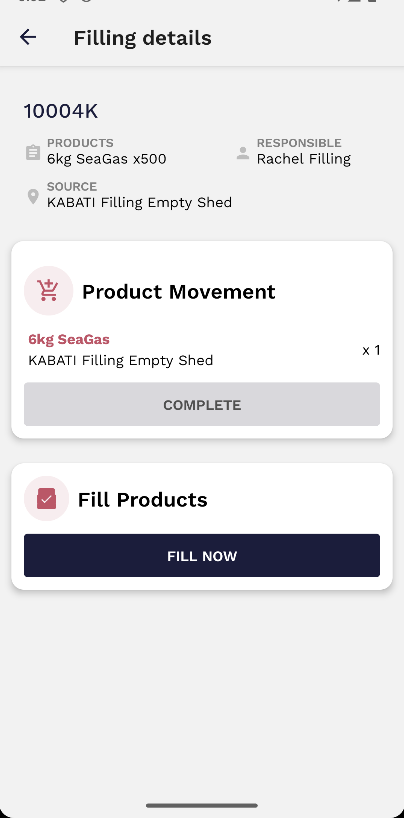
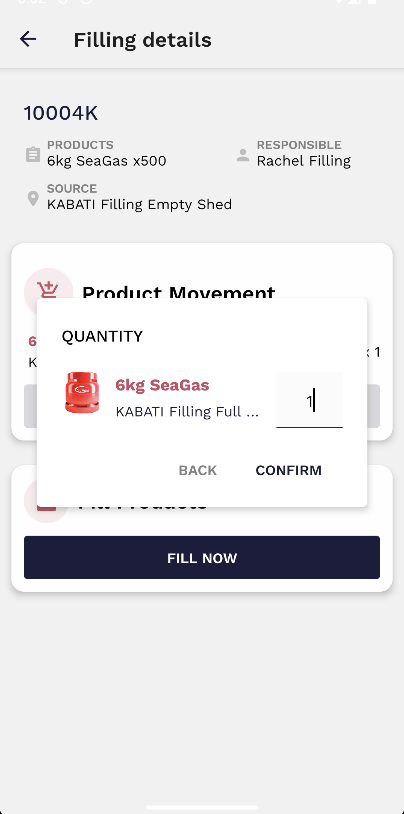
Next, the user should select 'fill now' and input the quantity of cylinders being filled. Once the filling manager clicks 'confirm,' the status of the cylinder will transition from empty to full.
[](https://wiki.circl.services/uploads/images/gallery/2023-07/luaimage.png)
# 5. How to do In-plant movements
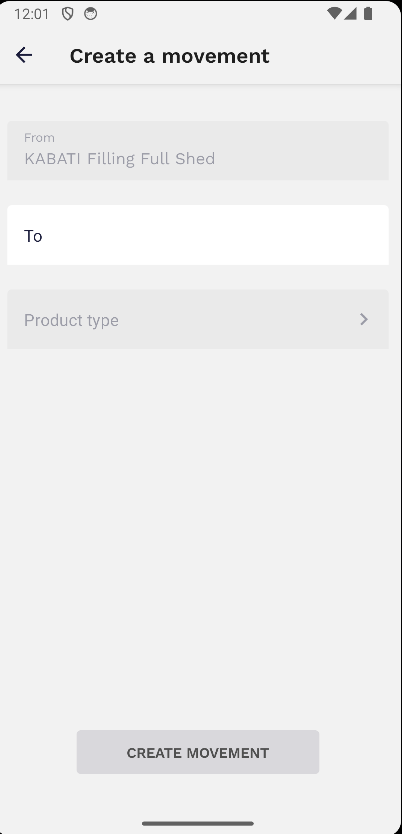
The defective yard manager has the capability to initiate a product **movement** within the same location, transferring it from one area to another. To initiate the process, the user can begin by selecting the "Movements" option within the stock tab.
To create a new movement, the user must select the '+' located at the top right. Then, information pertaining to to the current location of the product, the destination container's location, and the product type must be inputted. By providing these details, the defective yard manager can effectively execute the necessary product relocation within the designated location. This movement requires authorisation from the container coordinator of the destination location.
[](https://wiki.circl.services/uploads/images/gallery/2023-07/TLHimage.png)
After entering the 'from' and 'to' fields, the user will have the option to specify the type of product.
[](https://wiki.circl.services/uploads/images/gallery/2023-07/5wXimage.png)
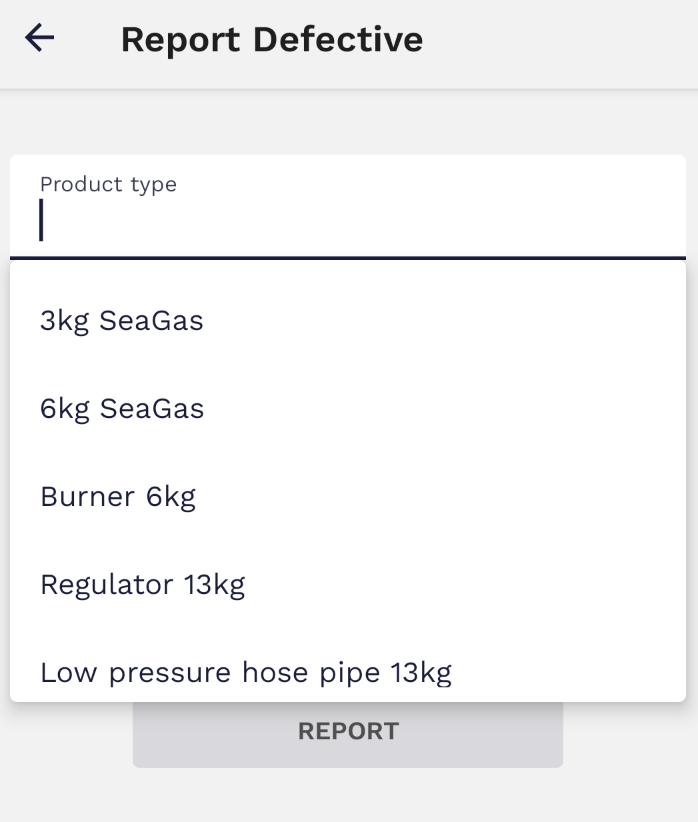
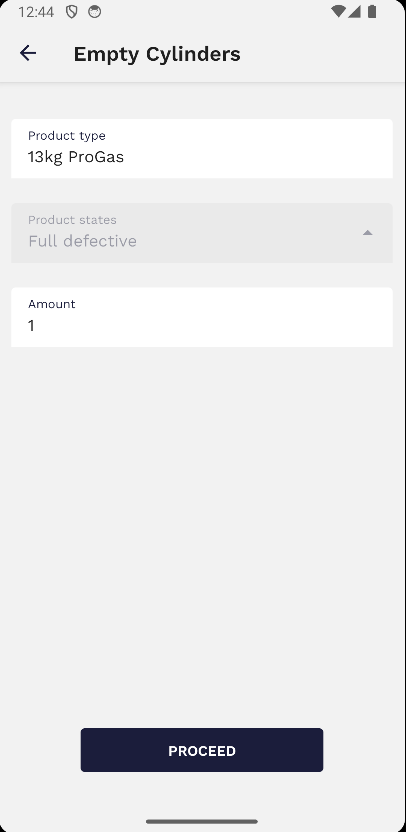
# 6. How to Report Defectives
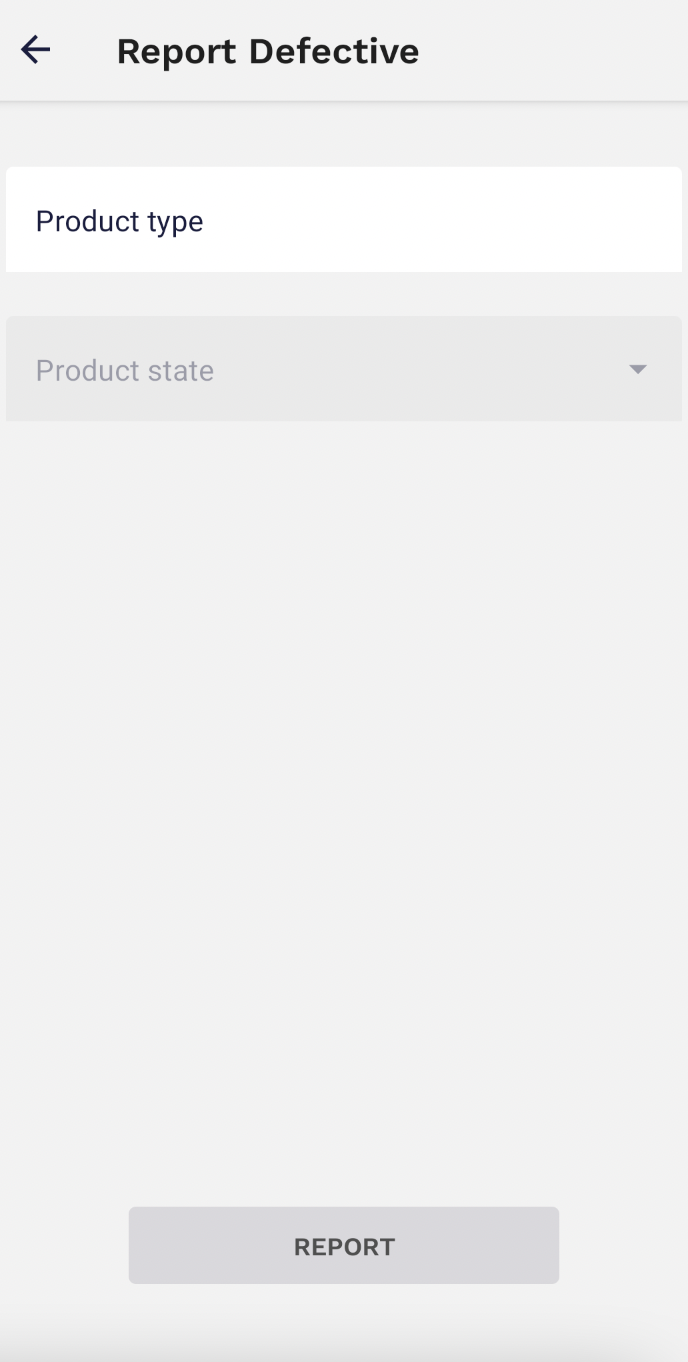
The filling manager can report any cylinder that may look or actually is damaged. To do so, the user must navigate to the 'stock' tab and choose the option labelled 'Report Defective'.
The defect will then be confirmed by the defective yard manager in a different step. When reporting defective items, the user is required to input specific information including the product type, state, and quantity. These details are crucial for accurately documenting and addressing the reported defects.

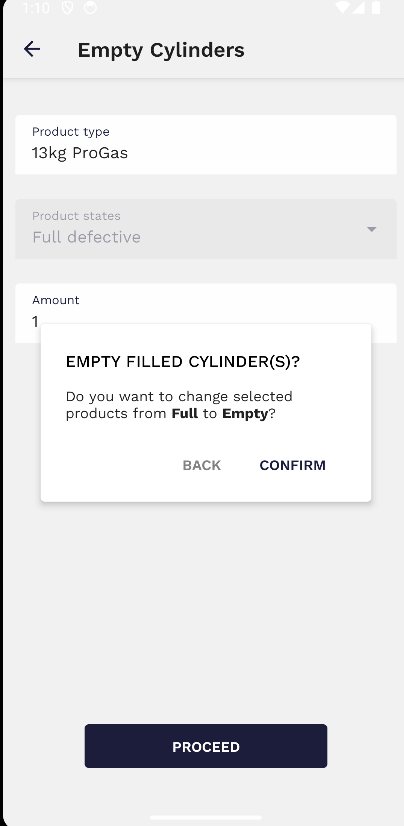
# 7. How to Extract Gas
Users with the Filling Manager role possess the exclusive capability of extracting gas. If a cylinder is in a defective state and completely filled, the Filling Manager has the authority to extract the gas from it.
To extract gas from a defective cylinder that is full, the user needs to follow these steps:
1. Go to the stock tab and select the 'Extract Gas' option.[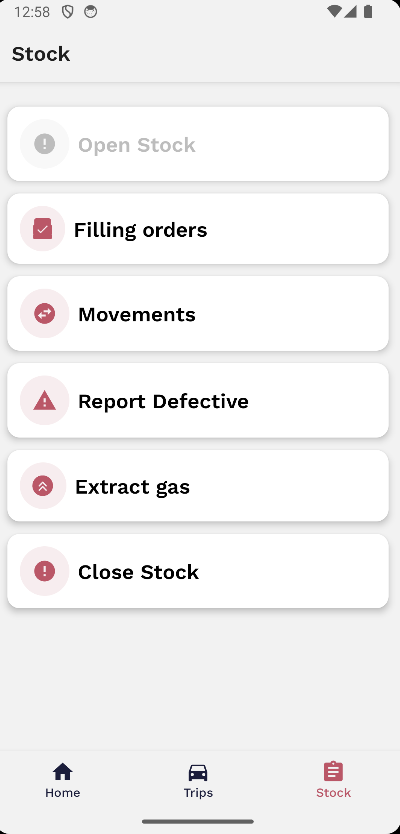](https://wiki.circl.services/uploads/images/gallery/2023-07/hezimage.png)
2. Specify the product type by choosing it from the available options. In the drop-down menu for the product type, all the defective full cylinders within that specific container will be displayed.
3. The state of the cylinder will automatically appear as "full" since it needs to be full in order to extract the gas.
4. At this stage, the user should enter the quantity of cylinders that will be extracted for gas.
[](https://wiki.circl.services/uploads/images/gallery/2023-07/XiMimage.png)
After the user clicks 'proceed,' a message will appear as a pop-up. By clicking 'confirm' on the pop-up, it signifies that the gas extraction process has been completed successfully. As a result, the state of the cylinder will be updated from 'full' to 'empty.'
[](https://wiki.circl.services/uploads/images/gallery/2023-07/RXeimage.png)